Unread post
by m3a1 » September 15th, 2017, 9:10 am
Vietnam Mutt, Welcome to G838.org! I am not a representative of this site. I am just one of the members but the following should help you.
Kindest Regards,
TJ
The following is a guide to help you post pictures - from a website that will host your pictures for free (third-party hosting, which is absolutely necessary) to the final steps of linking those pictures to this website. This is not meant to be an endorsement for postimg.org. There may be other websites out there that you may prefer.
Go to postimg.org and sign up (it's free....for now)
Create a gallery or multiple galleries for your images. You begin this process by giving your gallery a name (click on the gray box and enter the name) and finalize its creation by clicking on "Create a New Gallery" button to the immediate right of the gallery name box. This will help you to stay better organized. In my case, I have one gallery for my MUTT and another for a Jeep and yet another for miscellaneous photos.
If you have created multiple galleries, preselect the appropriate gallery prior to uploading your photos. This helps you immediately send your uploading photos into the appropriate gallery at the time you upload, rather than having everything in one gallery which would require much additional work in sorting later on. After you have created your galleries you are ready to upload your photos.
Click on the "UPLOAD" at the top left of the screen. A new screen will open presenting you with options to resize your image. Here, I would suggest selecting 640x480. Below that you can assign an expiration date for the link (do nothing here if you want the photo to remain available for all to see). Below that is the "Choose Images" box.
From your computer, select the photos you want to upload and drag and drop them to the "Choose Images" uploading box (in the middle of the page) and yes, it will accept multiple photos at one time.
-or- click on that box and select files to upload in much the same way as you probably add photos to your email.
A visual representation of the uploading process will appear. Sometimes a photo or two won't upload (even though it showed it uploading) making it necessary to upload it once again, by itself. A failed upload usually shows up with a small notation in red. If this happens, try to upload it again.
With your photos now uploaded to postimg, you are ready to embed them into the text you've created here on the G838 site. Click on the "share" icon for a photo which will become visible when you hover your cursor over it (it's to the left of the little trashcan icon) -or- simply click on the selected photo which will bring up a box with a variety of URLs for that photo. I choose to copy the "Direct Link" for that purpose. By the way, that box will have a "close" button at the lower right corner. There is no need to close that box before going to another photo or another function on postimg. You can move on to another photo or function simply by clicking on it and skip the step of closing that box altogether. It will close automatically.
*Note* If you are creating a complex posting where you want to select photos from multiple galleries you've created you need only click on "my images" at the top right of the screen. That will bring up whatever galleries you've created, allowing you to move efficiently between galleries and, as you probably have already guessed, by clicking on a particular gallery you will find thumbnails for all your photos in that gallery.
Now let's create a text using images uploaded to postimg because a picture is truly worth a thousand words and your new friends here on the G838 love to look at photos with our morning coffee....especially Rick, who studies these photos intently and doesn't miss a thing. For our purposes let us assume you've already selected a photo from postimg and have copied its "Direct Link" (or other appropriate URL) in preparation for pasting it.
Here on the G838 you will find a "Img" button above your text box.
By clicking that "Img" button, the following will come up in your text box with your cursor then located right in the middle. It looks a bit like this but without all the spaces and font color I have added for clarity-
[ i m g ] your cursor here [ / i m g ]
And remember, you need to click that "Img" button when and where you want that image to be located relative to your text.
Paste the link or URL of your photos right where your cursor is and, having done that you've successfully linked a your photo to your text. So, now it will look something like this -
[ i m g ] your direct link here [ / i m g ]
Once you've concluded writing your text with your images embedded, click on the "Preview" button below the text box. You can Preview at any time. By doing this you will be able to review what you have written and observe where your photos are and see if you have made any mistakes. What you see in the preview box is what we will see. Then scroll down below that and you will find your working text box so you can continue to make your corrections or add to what you've written so far. To review what corrections and additional text you have made, simply click on "Preview" button again which will reload your submission, with any changes you've made. When you're satisfied, click on "Submit" and you're done. After a moment your new post will open and if you find that you want to make changes (now or even at a later date) click on the EDIT button at the top right corner of your post. This will allow you (and only you) to make corrections. This is also very useful if you post something for sale because once that item has sold, you can go back and change your original post to indicate it is no longer available.
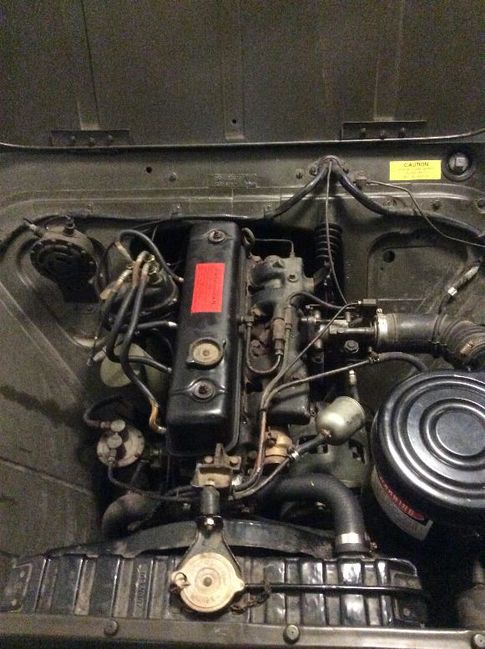
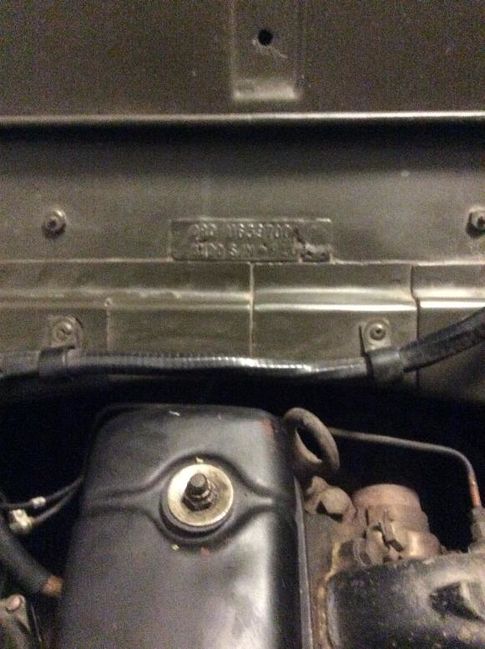
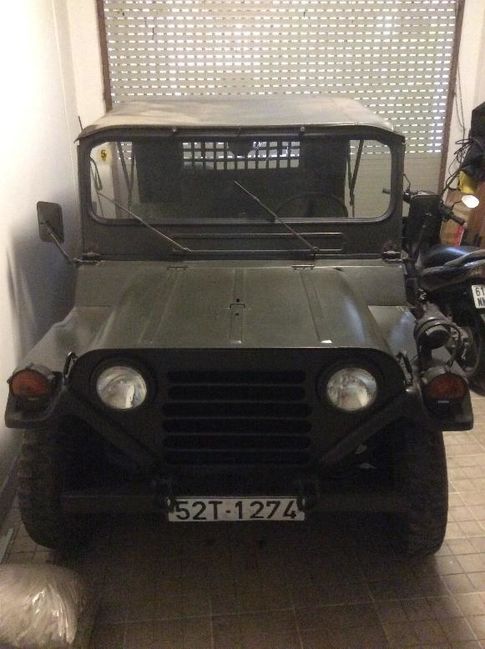
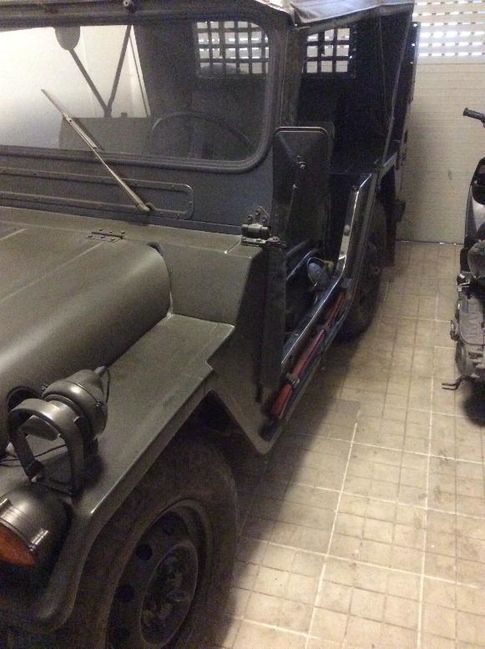
Now, let's see your truck!