My M 151 A1 Restoration Project
Moderators: rickf, raymond, Mr. Recovery

Re: My M 151 A1 Restoration Project
I hope my rear floor will turn out great like yours Guy, but will settle for good. I will have to do it in a different manner though, sense it is still on its drive train. I will have a wonderful time with it I know! lol!!! Great job on yours! Thanks for the fast shipping on my rear floor!
-
lpcoating
- Brigadier General

- Posts: 2030
- Joined: February 19th, 2013, 11:38 pm
- Location: Mansfield, PA
- Contact:
Re: My M 151 A1 Restoration Project
I welded mine from the bottom as I did not want to have to deal with the clean up of the plug welds on the top surface. If you take your time it will look nice. Welding from the top is probably less messing around. As I'm like my father, I enjoy doing things the hard way. Fast shipping is the result of keeping parts on the shelf! Good luck.M151A2run wrote:I hope my rear floor will turn out great like yours Guy, but will settle for good. I will have to do it in a different manner though, sense it is still on its drive train. I will have a wonderful time with it I know! lol!!! Great job on yours! Thanks for the fast shipping on my rear floor!
Guy
M151 Body Panels - http://www.m151bodypanels.com/
'68 A1 - Under full resto
'68 A1 - Under full resto
-
lpcoating
- Brigadier General
- Posts: 2030
- Joined: February 19th, 2013, 11:38 pm
- Location: Mansfield, PA
- Contact:
Re: My M 151 A1 Restoration Project
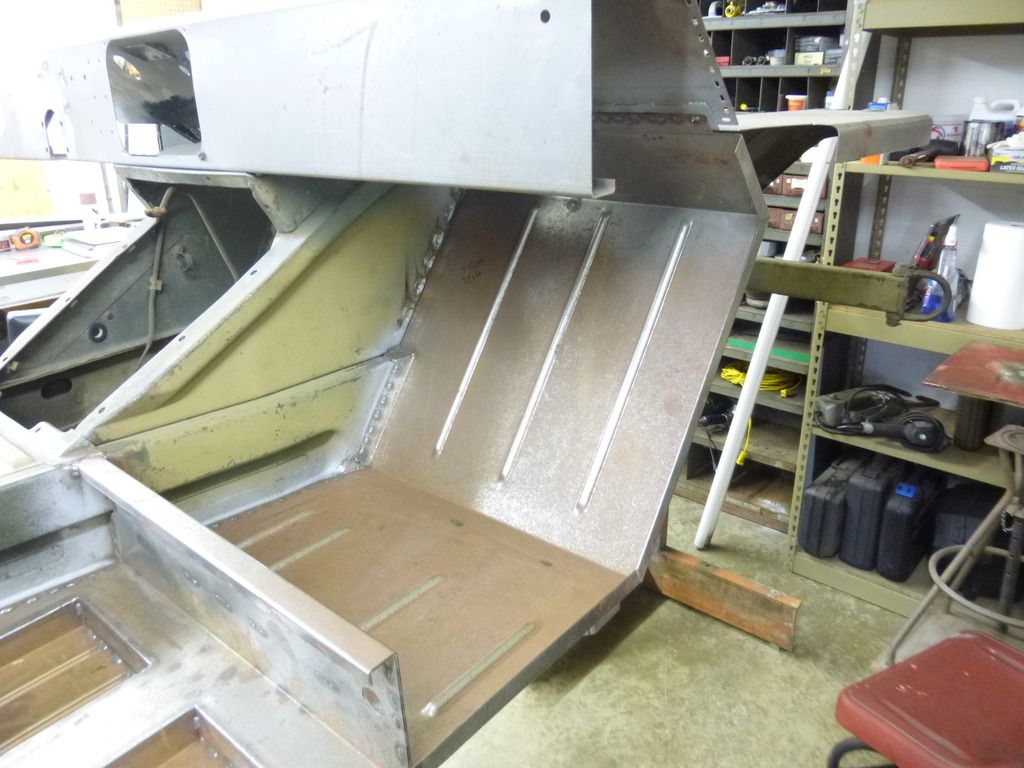
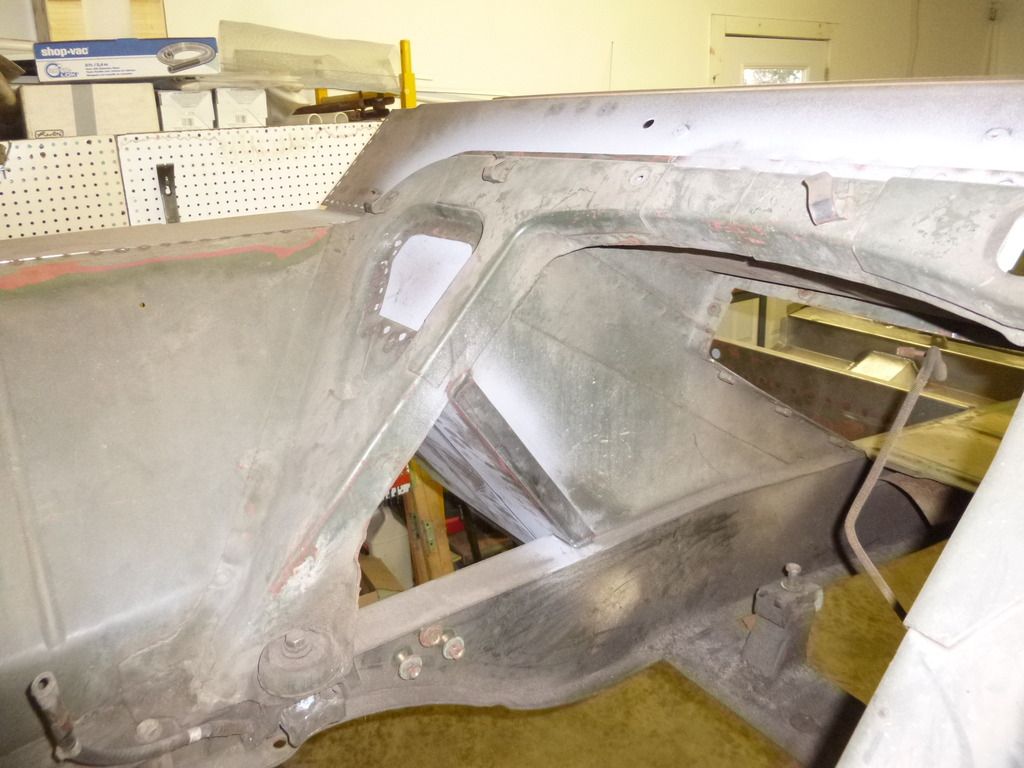
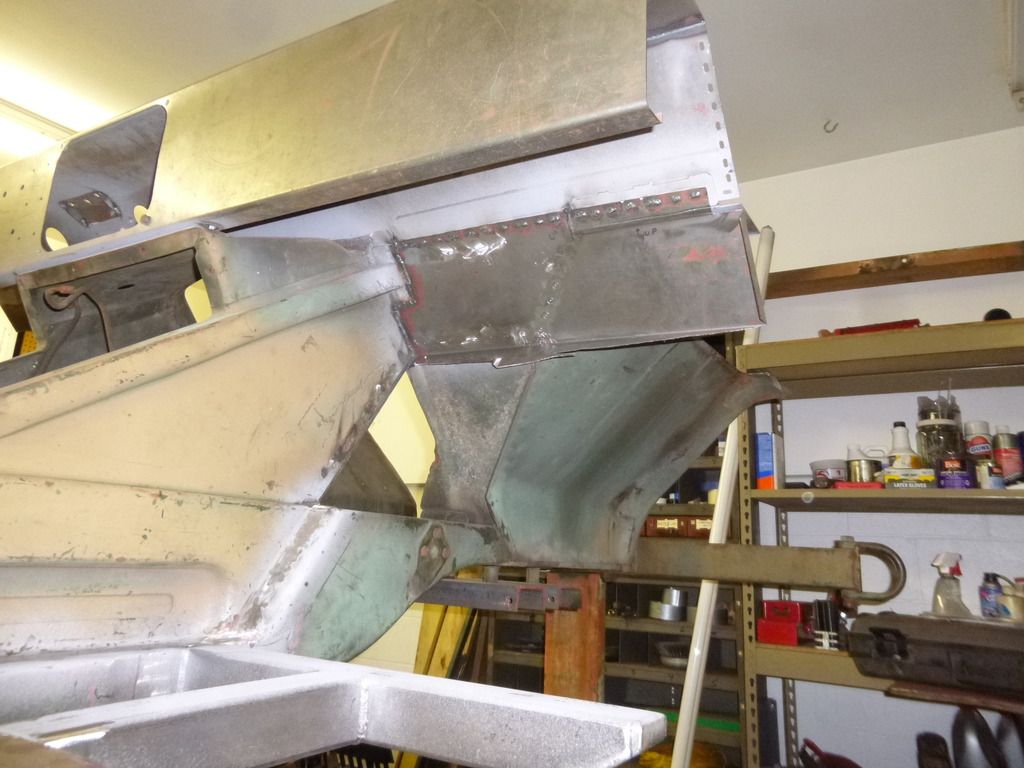
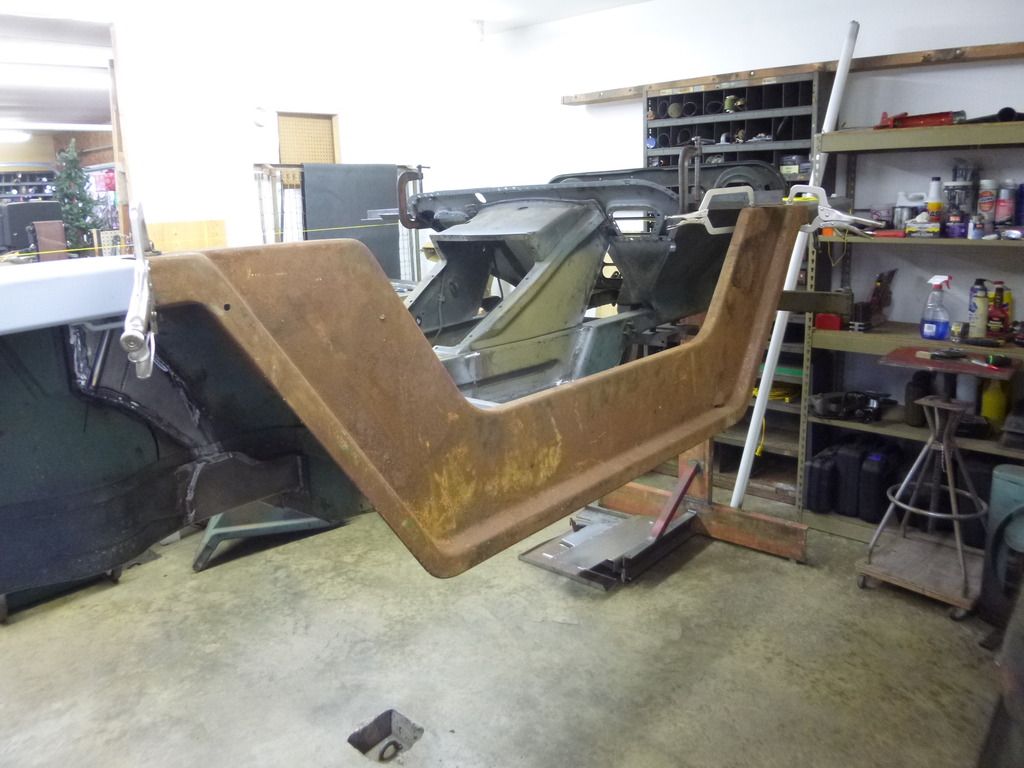
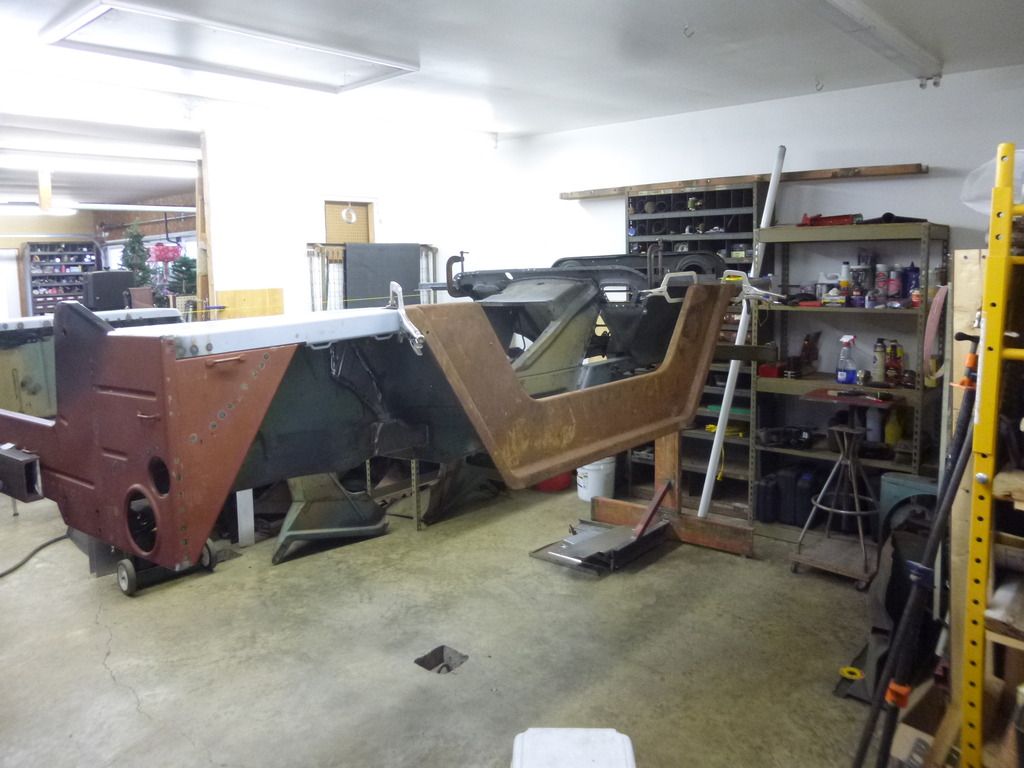
Per my conversation on the CMD Body Panel thread, I started to remove the front floor that I installed in 2012. This section of toe board, floor and seat support were all made as one piece and the rib tooling is the same as the rear fender tops as we did not have the original tooling design at the time. This was not a fun job and I still have to remove the upper pieces but I'm close. This will be replaced by CMD parts the match the original design.

Guy


Guy
M151 Body Panels - http://www.m151bodypanels.com/
'68 A1 - Under full resto
'68 A1 - Under full resto


Re: My M 151 A1 Restoration Project
Are you going to leave your custom tool box? I would, you are not going to be showing it as a perfect restoration. Or are you? 
1964 M151A1
1984 M1008
1967 M416
04/1952 M100
12/1952 M100- Departed
AN/TSQ-114A Trailblazer- Gone
1984 M1008
1967 M416
04/1952 M100
12/1952 M100- Departed
AN/TSQ-114A Trailblazer- Gone
-
lpcoating
- Brigadier General
- Posts: 2030
- Joined: February 19th, 2013, 11:38 pm
- Location: Mansfield, PA
- Contact:
Re: My M 151 A1 Restoration Project
Tool box, battery box and gas tank floor are staying. Had I made the driver side floor when the passenger side was done I would not have changed it. At this point is does not make sense to do a "custom" drivers floor.rickf wrote:Are you going to leave your custom tool box? I would, you are not going to be showing it as a perfect restoration. Or are you?
M151 Body Panels - http://www.m151bodypanels.com/
'68 A1 - Under full resto
'68 A1 - Under full resto


Re: My M 151 A1 Restoration Project
I'm looking at this, imagining all the tedium involved in dressing up all those mating surfaces for the new panel. What a P I T A that must have been. DANG!
-
lpcoating
- Brigadier General
- Posts: 2030
- Joined: February 19th, 2013, 11:38 pm
- Location: Mansfield, PA
- Contact:
Re: My M 151 A1 Restoration Project
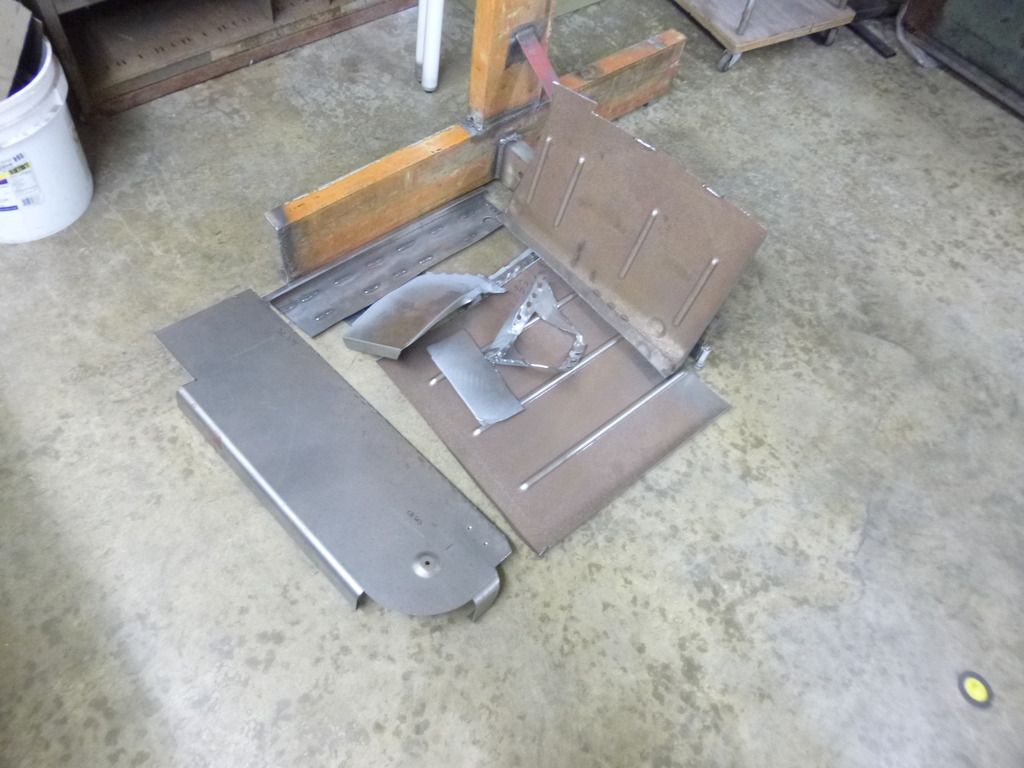
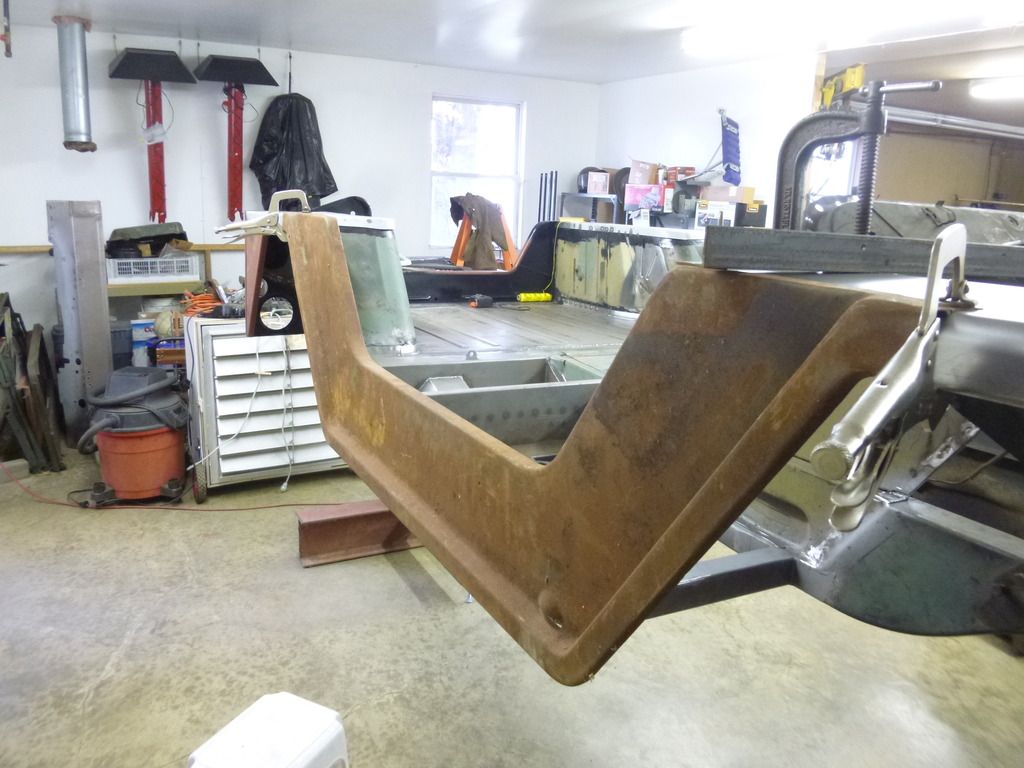
Parts are now removed and I'm close to test fitting the toe board. Also replacing the front fender that I made back in 2012 with an accurate reproduction fender. Will then use the NOS side panel that Rick sent me, fit it up thus establishing the toe and floor board locations. After that I will copy and build full side panels. Yup, I said that!
Guy
Guy
M151 Body Panels - http://www.m151bodypanels.com/
'68 A1 - Under full resto
'68 A1 - Under full resto
-
lpcoating
- Brigadier General
- Posts: 2030
- Joined: February 19th, 2013, 11:38 pm
- Location: Mansfield, PA
- Contact:
Re: My M 151 A1 Restoration Project
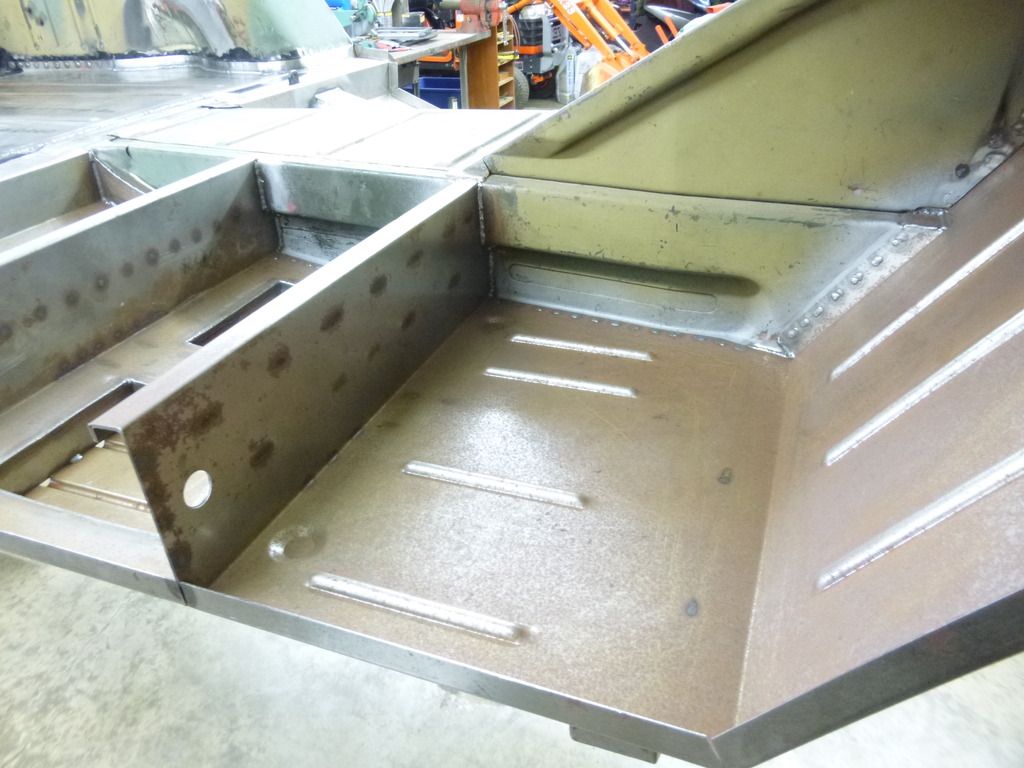
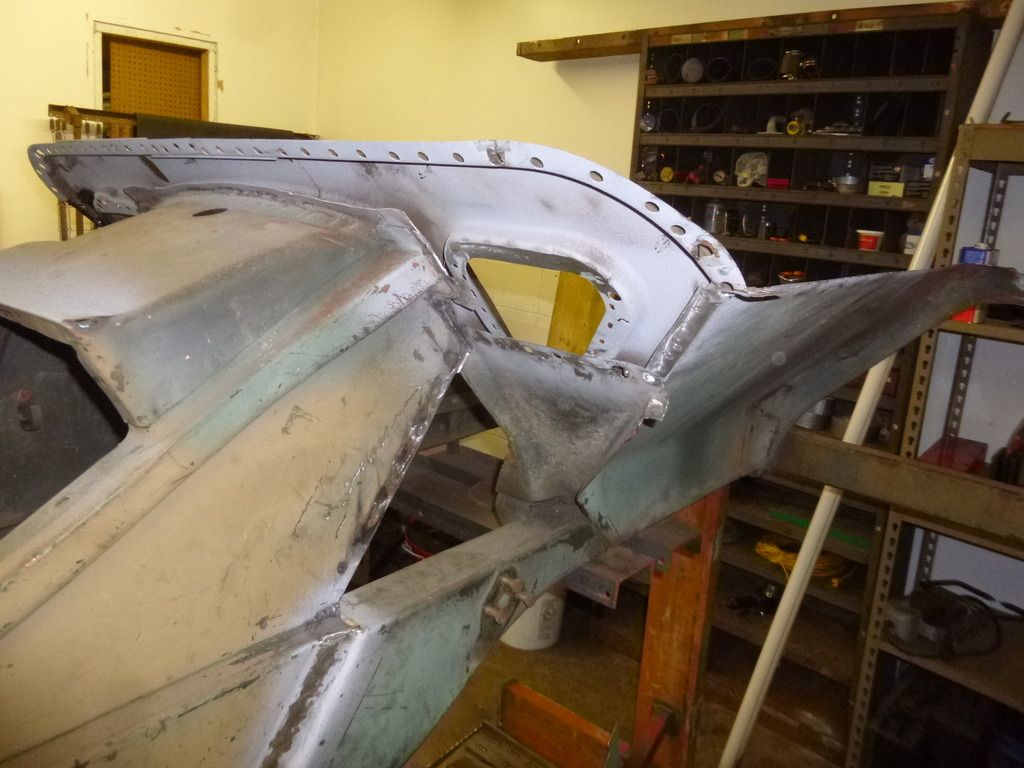
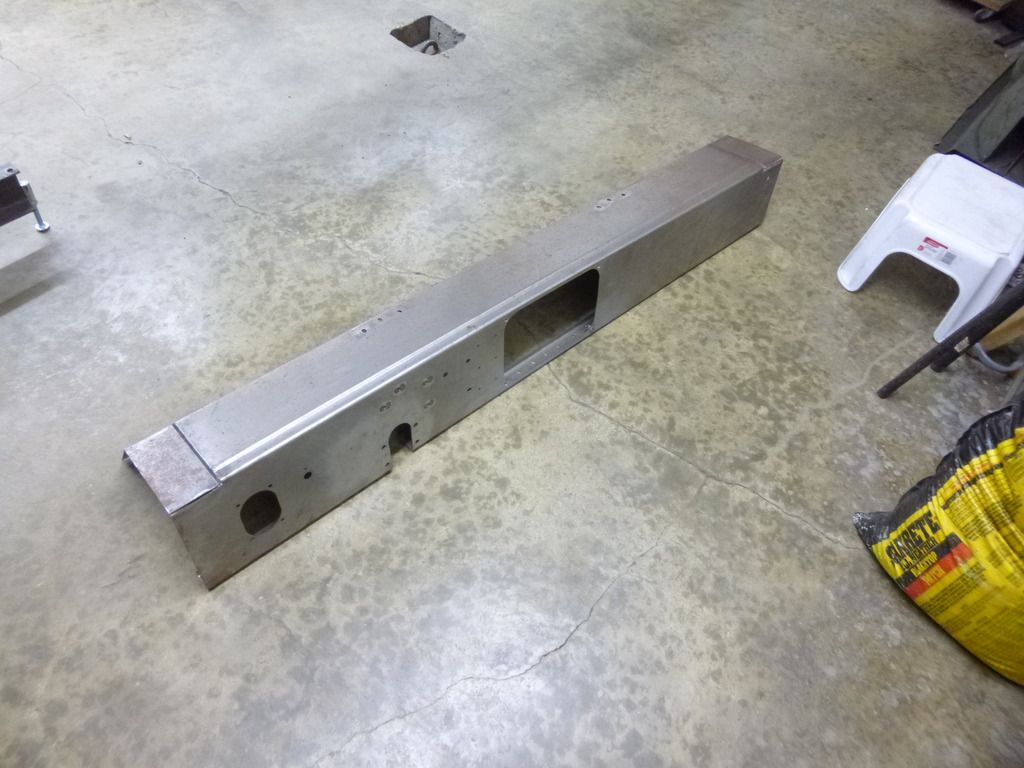
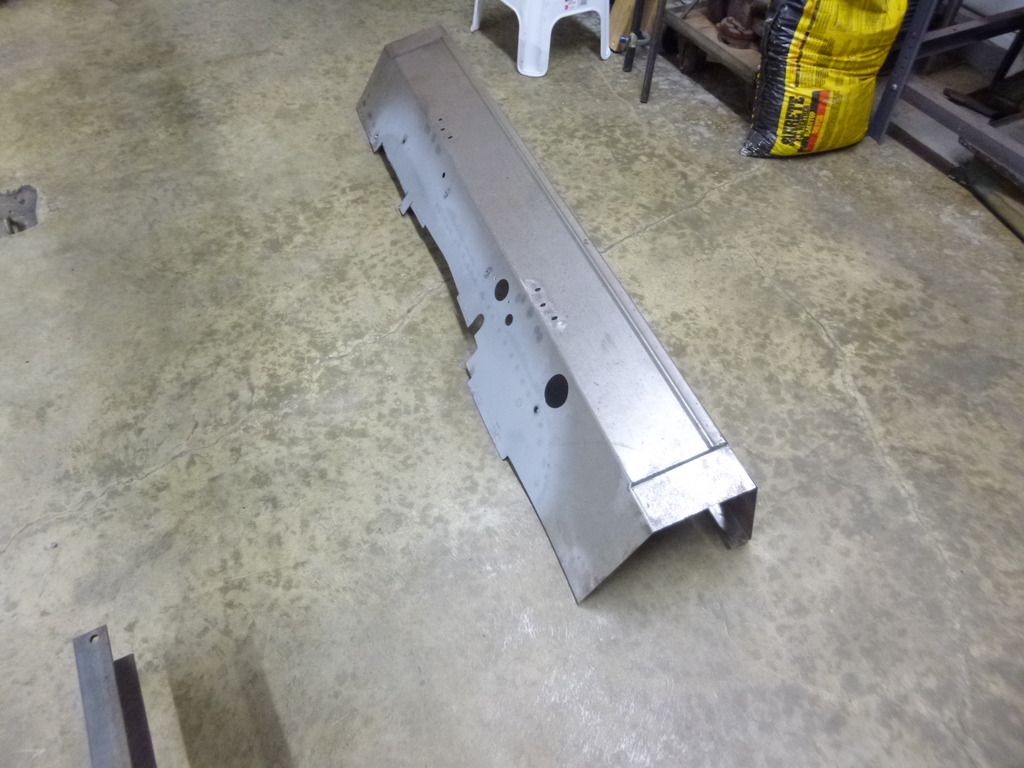
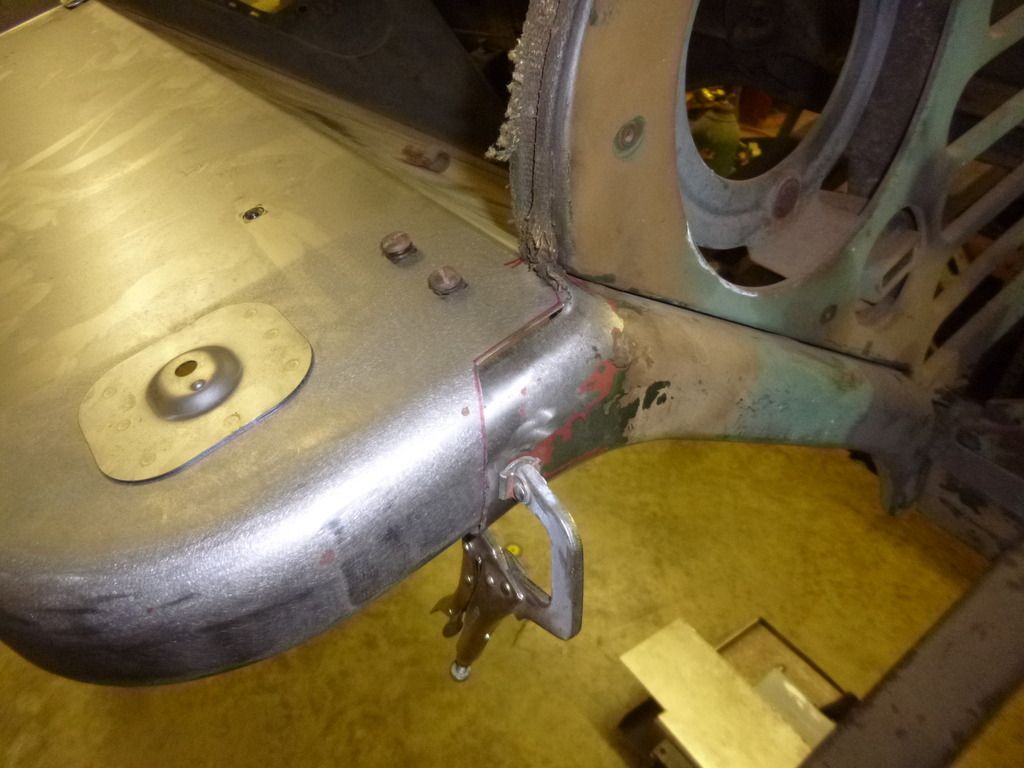
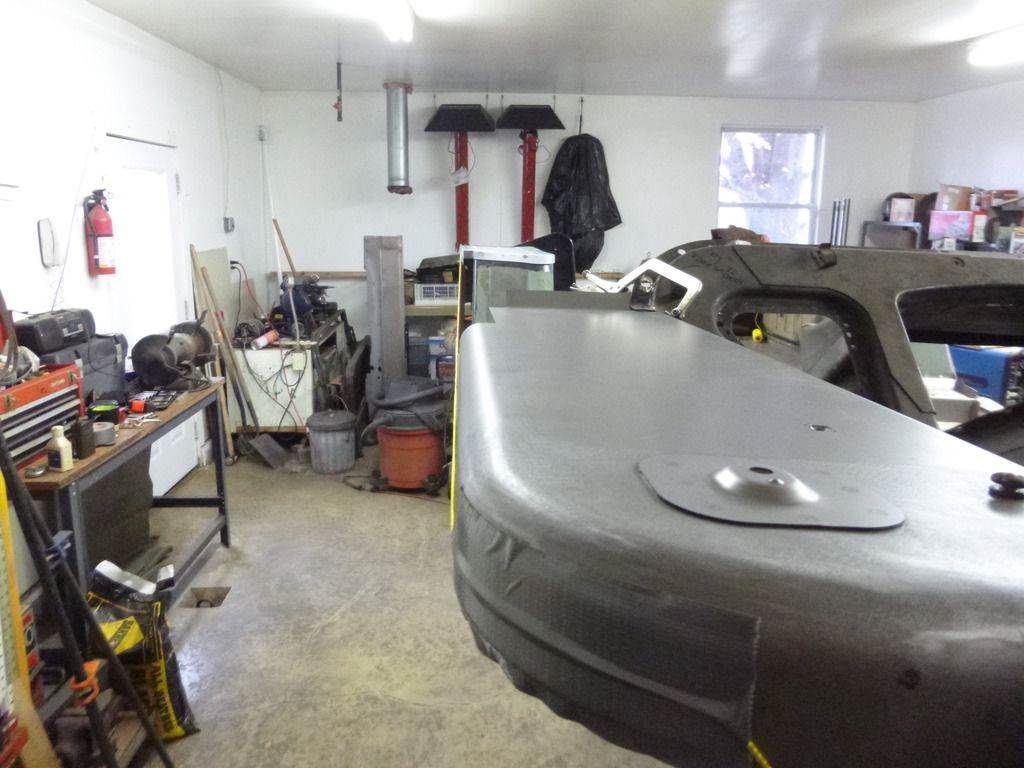
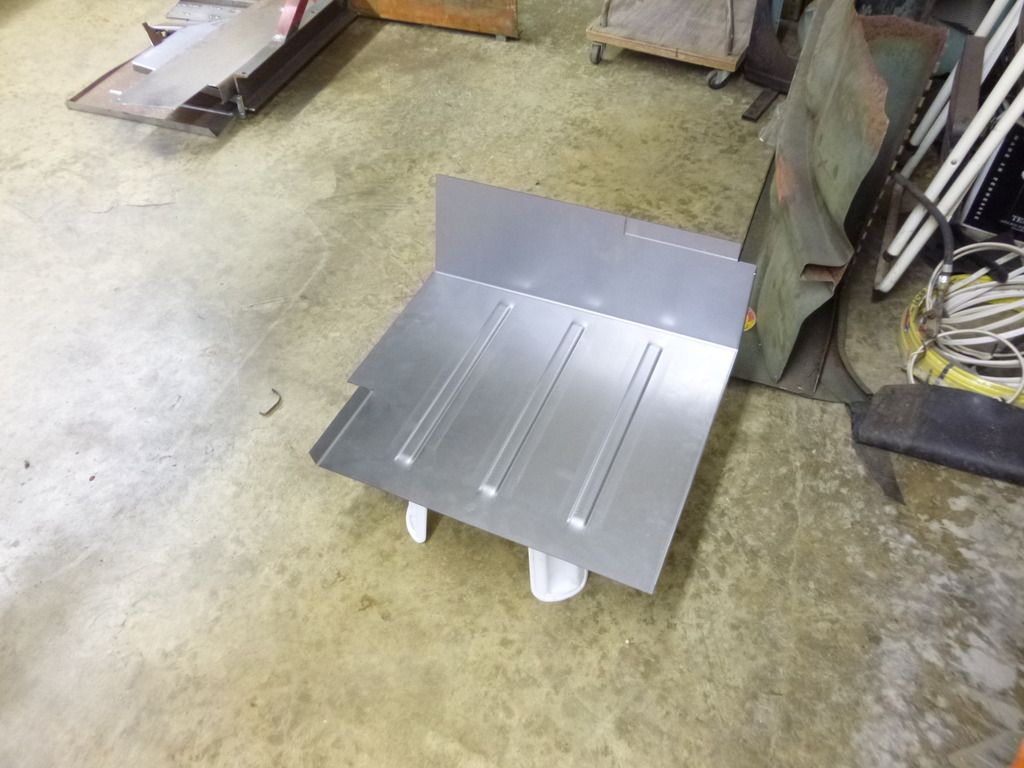
Parts removed. The fender in this picture was done several years ago and was a one-off. It's close to the original but not exact. Figured I'd replace it as well:
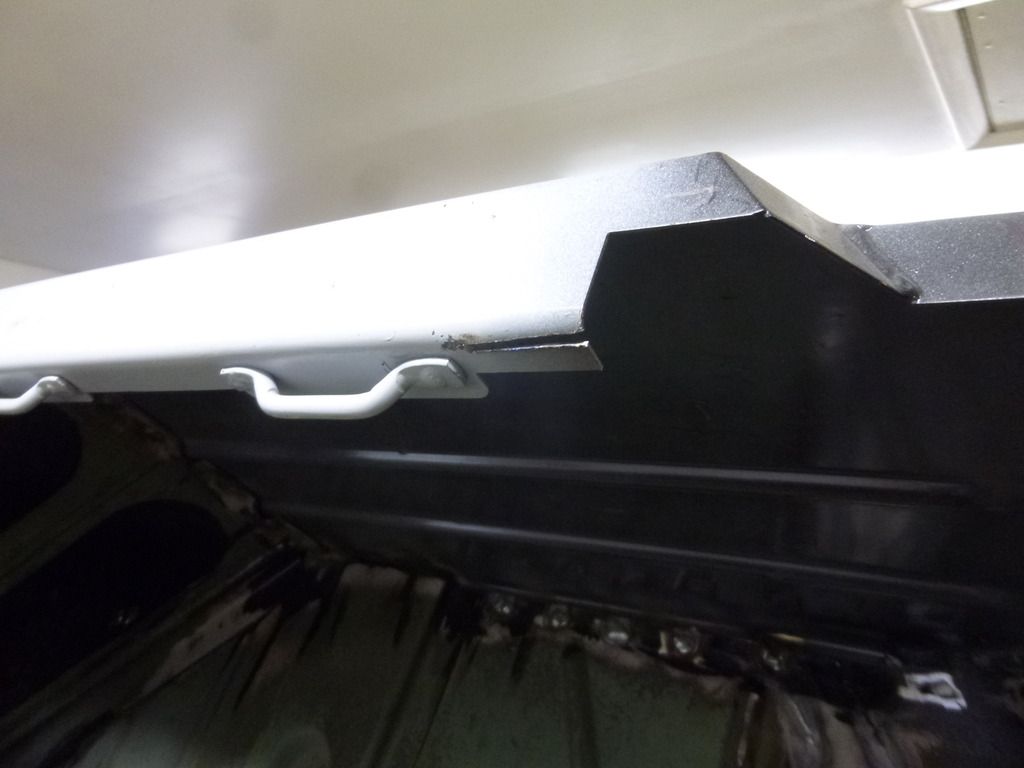
Also removed the dash and will replace with an accurate reproduction. This one is made out of 16 ga and as we did not have the exact tooling for the top rib I think I would of had some issues. Dash was only tack welded in (4) places. Had I fully welded it I would have made it work.
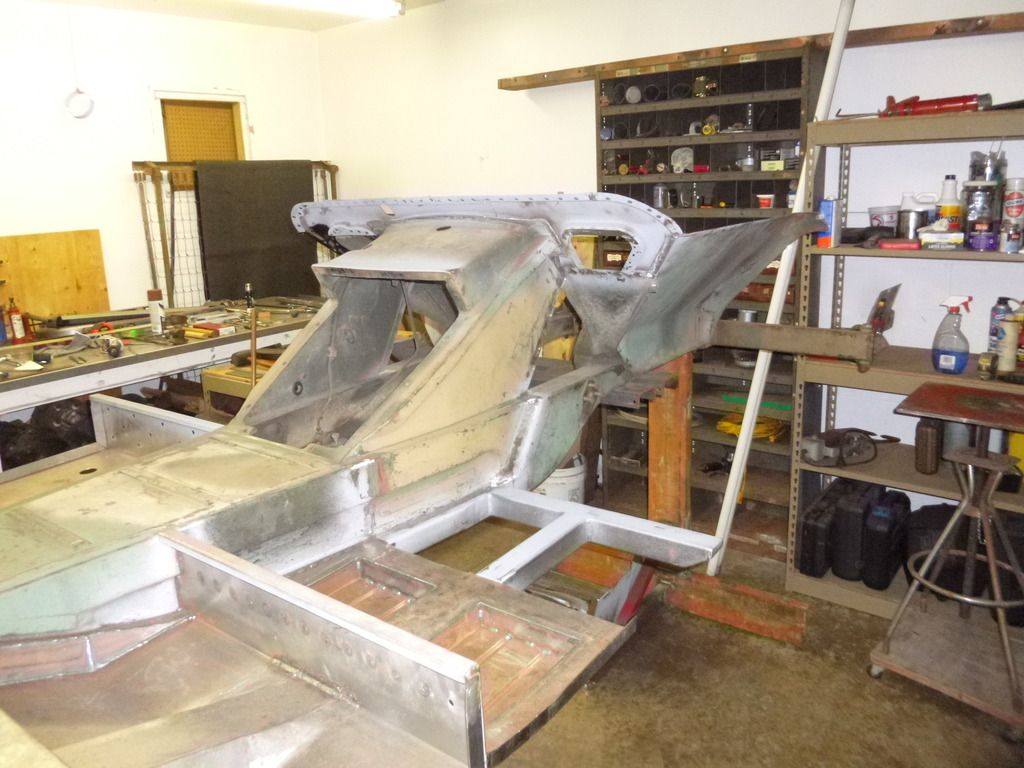
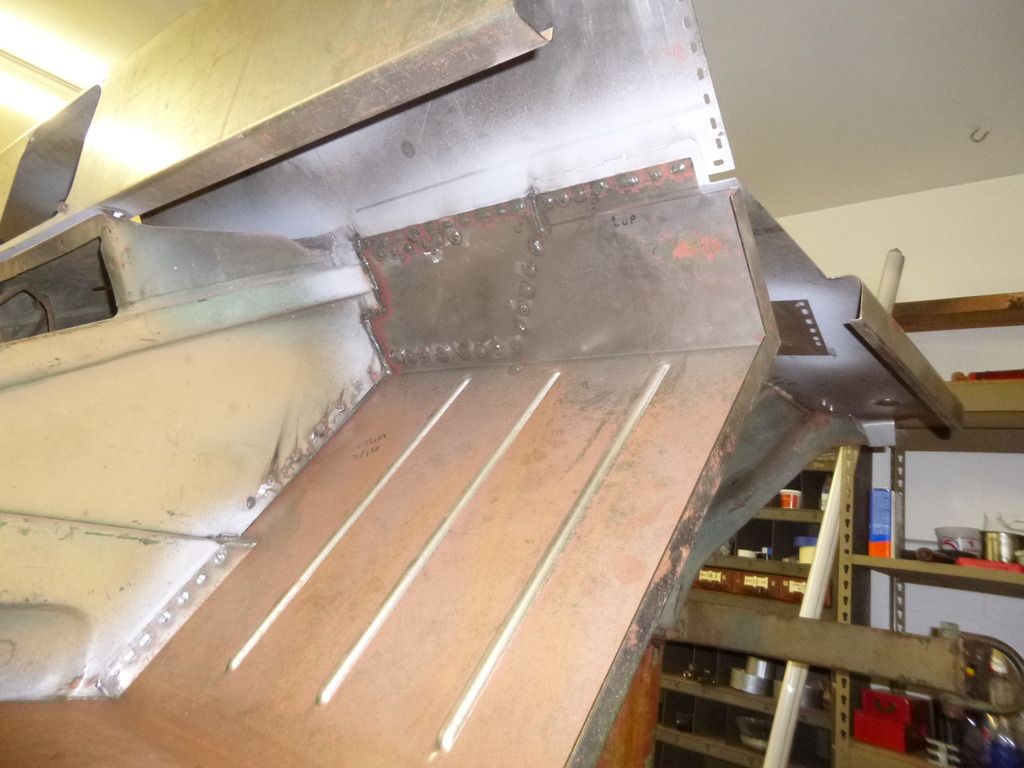
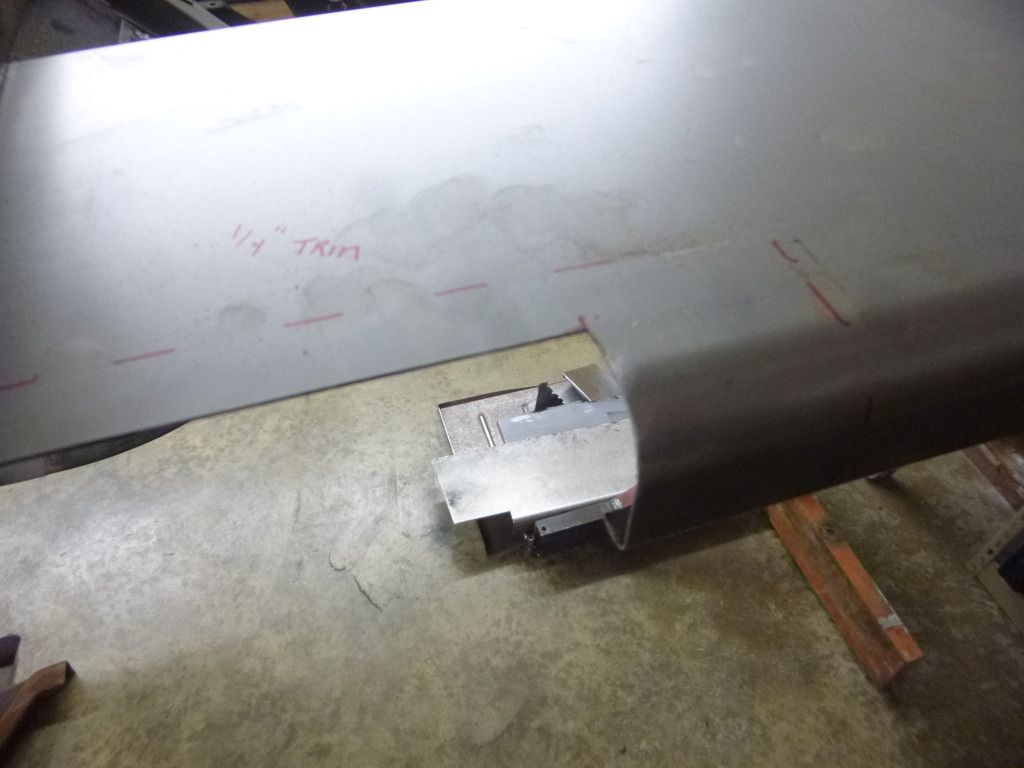
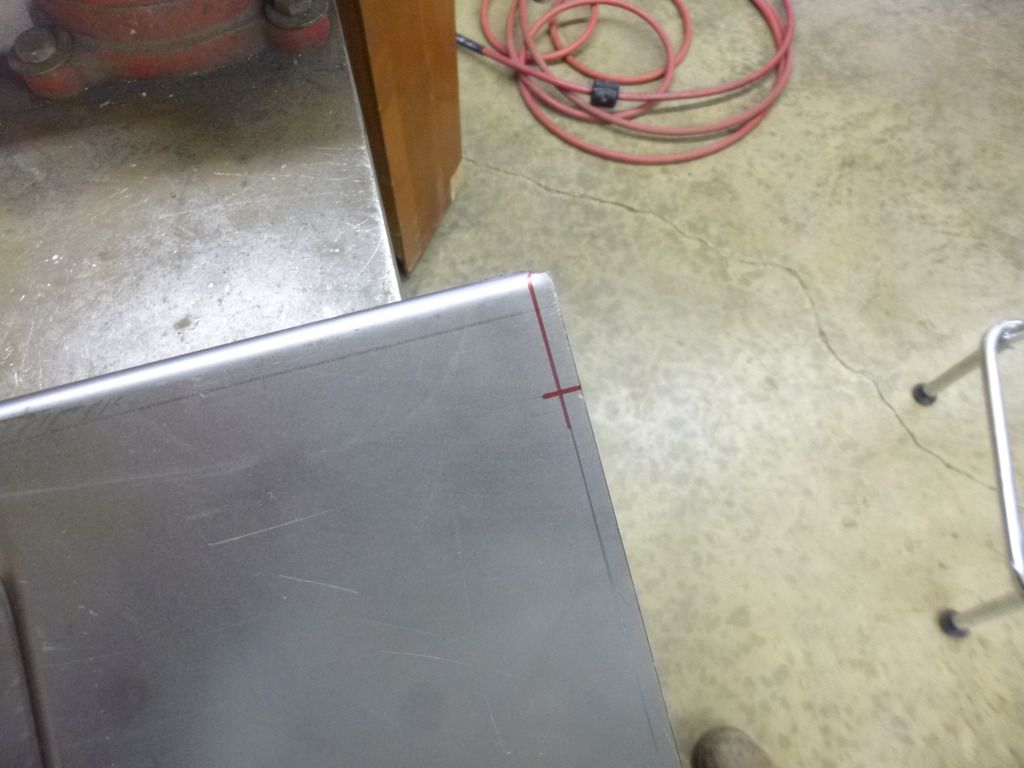
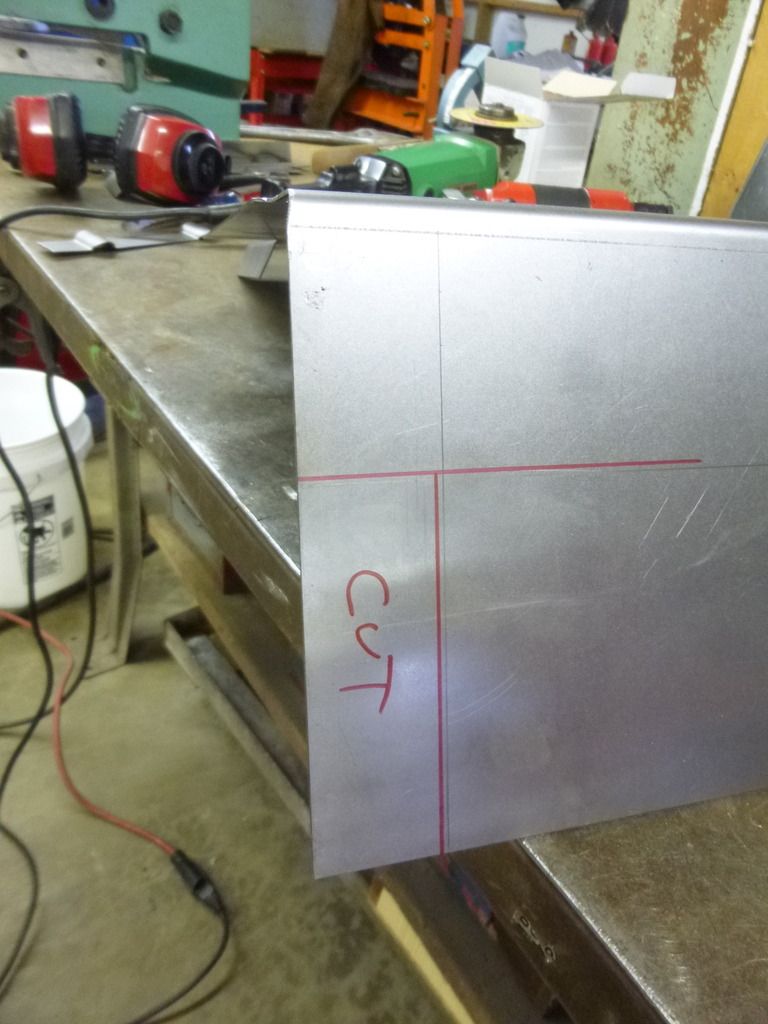
Trimming out the front fender. Only did one cut and will fine tune later:
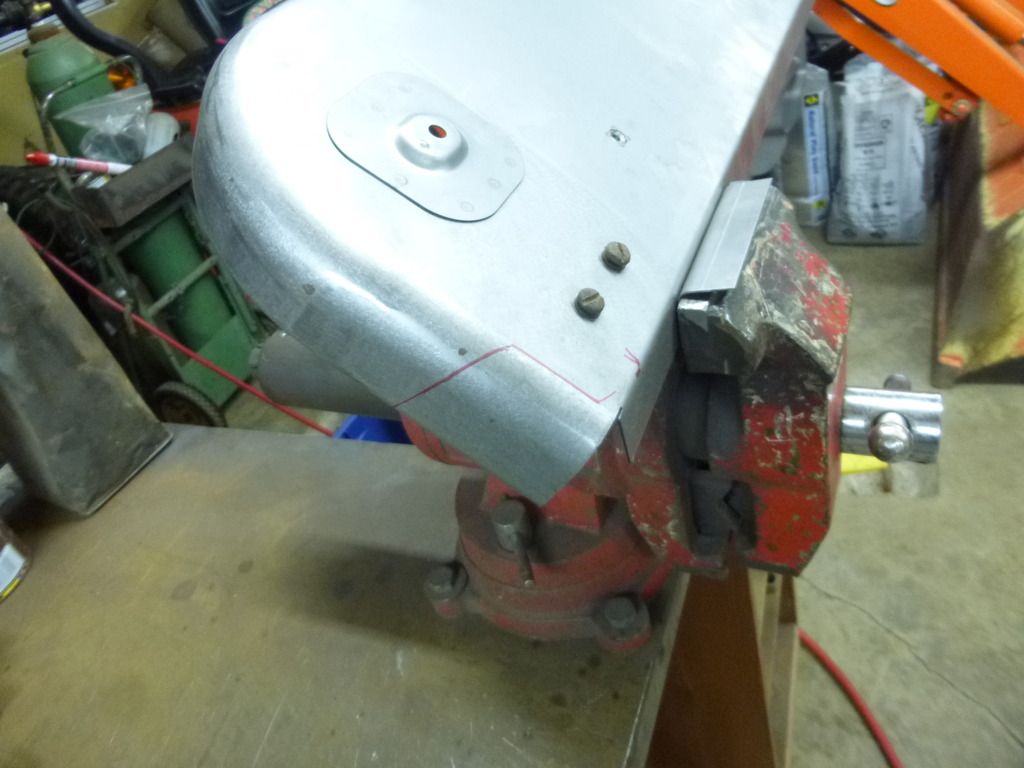

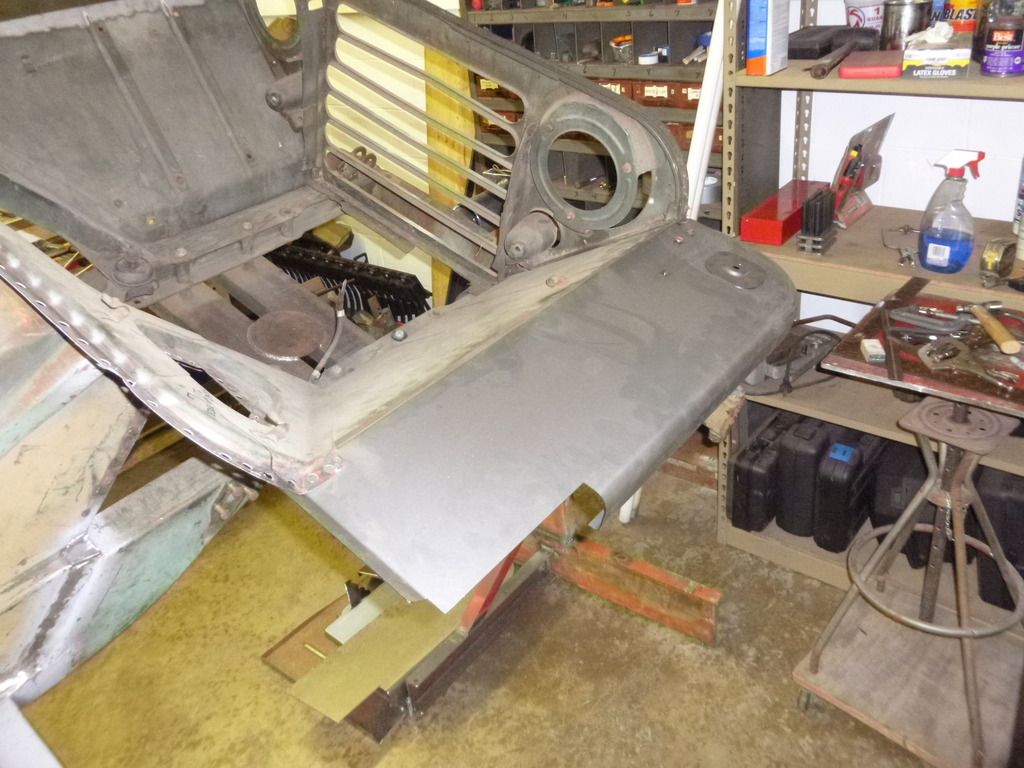
Once the front fender is fit up I'll clamp the side panel on and work on the floors.
Guy

Also removed the dash and will replace with an accurate reproduction. This one is made out of 16 ga and as we did not have the exact tooling for the top rib I think I would of had some issues. Dash was only tack welded in (4) places. Had I fully welded it I would have made it work.


Trimming out the front fender. Only did one cut and will fine tune later:


Once the front fender is fit up I'll clamp the side panel on and work on the floors.
Guy
M151 Body Panels - http://www.m151bodypanels.com/
'68 A1 - Under full resto
'68 A1 - Under full resto
Re: My M 151 A1 Restoration Project
Gosh, this is fun to watch. Going all the way back to what you started with makes it all the more impressive.
-
Vzike

- Sergeant Major of the "G"

- Posts: 729
- Joined: December 27th, 2013, 4:05 pm
- Location: Jupiter, Florida
Re: My M 151 A1 Restoration Project
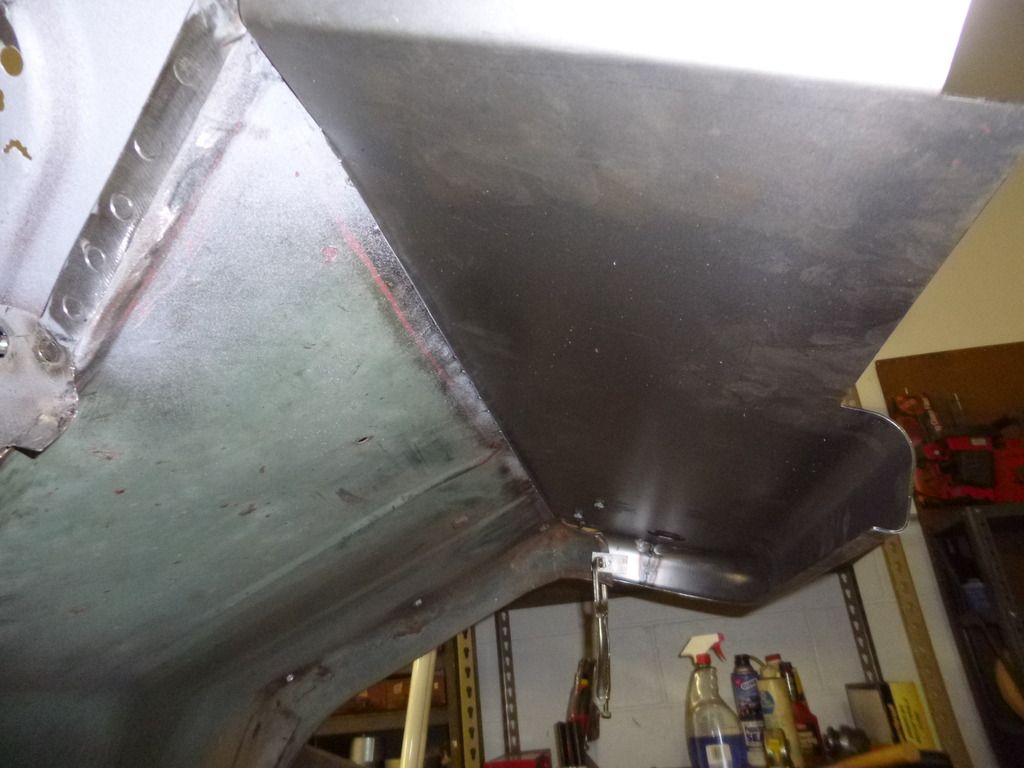
I'm going back to the previous page, where you documented the installation of the rear floor. Since I'm prepping to install one of the CMD rear floors (I should get next week) I took a very hard look at your way compared to how I did the previous one last year (on my 64 M151). Clearly, I'll make some changes.
I did not use your jacking technique to keep the panels tight. I used self taping sheet metal screws, and weld from the top. This kept the panel tight, but not uniformly tight the full length of the welded area. Once I got the mutt on the road, the noise I got from the un-welded areas over the rear frame supports was pretty bad. I ended up putting it on a lift and rewelding some of the areas. That eliminated the noise, but I ended up with extra welds.
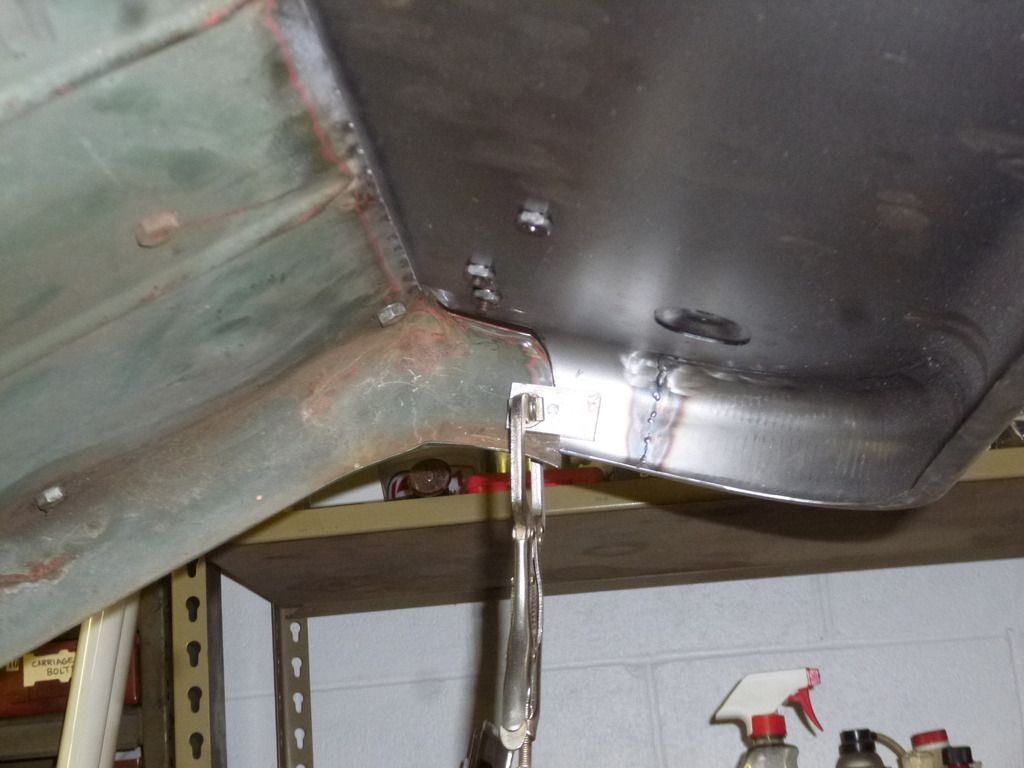
I'm going to drill out the frame, as you did, and plug weld from the bottom. I'll also use my portapower to get the edges tight.
I just wish I could weld the side strips as good as you. I'm getting better, but still have a long way to go!
Thank you for posting that. It is extremely helpful.
I did not use your jacking technique to keep the panels tight. I used self taping sheet metal screws, and weld from the top. This kept the panel tight, but not uniformly tight the full length of the welded area. Once I got the mutt on the road, the noise I got from the un-welded areas over the rear frame supports was pretty bad. I ended up putting it on a lift and rewelding some of the areas. That eliminated the noise, but I ended up with extra welds.
I'm going to drill out the frame, as you did, and plug weld from the bottom. I'll also use my portapower to get the edges tight.
I just wish I could weld the side strips as good as you. I'm getting better, but still have a long way to go!
Thank you for posting that. It is extremely helpful.
Vin Zike
Re: My M 151 A1 Restoration Project
Vin, those side strips were TIG welded. Handy little machine, that is why I am finally going to bite the bullet and get one. That and I am always running into aluminum projects.
1964 M151A1
1984 M1008
1967 M416
04/1952 M100
12/1952 M100- Departed
AN/TSQ-114A Trailblazer- Gone
1984 M1008
1967 M416
04/1952 M100
12/1952 M100- Departed
AN/TSQ-114A Trailblazer- Gone
-
lpcoating
- Brigadier General
- Posts: 2030
- Joined: February 19th, 2013, 11:38 pm
- Location: Mansfield, PA
- Contact:
Re: My M 151 A1 Restoration Project
Rick, if you are talking about the rear floor that was all MIG welded.rickf wrote:Vin, those side strips were TIG welded. Handy little machine, that is why I am finally going to bite the bullet and get one. That and I am always running into aluminum projects.
Guy
M151 Body Panels - http://www.m151bodypanels.com/
'68 A1 - Under full resto
'68 A1 - Under full resto
-
Vzike
- Sergeant Major of the "G"
- Posts: 729
- Joined: December 27th, 2013, 4:05 pm
- Location: Jupiter, Florida
Re: My M 151 A1 Restoration Project
I can tell you that my inside corner welds do not have that consistent beauty as Guys. LOL There will be some grinding.
Rick, I learned to weld with TIG many years ago, and I have one available. I just don't have room in the bay for another piece of equipment. I totally agree that much of my work would be a lot better with TIG.
Rick, I learned to weld with TIG many years ago, and I have one available. I just don't have room in the bay for another piece of equipment. I totally agree that much of my work would be a lot better with TIG.
Vin Zike
Re: My M 151 A1 Restoration Project
That side band to floor weld looked like Tig, I am impressed.lpcoating wrote:Rick, if you are talking about the rear floor that was all MIG welded.rickf wrote:Vin, those side strips were TIG welded. Handy little machine, that is why I am finally going to bite the bullet and get one. That and I am always running into aluminum projects.
Guy
1964 M151A1
1984 M1008
1967 M416
04/1952 M100
12/1952 M100- Departed
AN/TSQ-114A Trailblazer- Gone
1984 M1008
1967 M416
04/1952 M100
12/1952 M100- Departed
AN/TSQ-114A Trailblazer- Gone
-
lpcoating
- Brigadier General
- Posts: 2030
- Joined: February 19th, 2013, 11:38 pm
- Location: Mansfield, PA
- Contact:
Re: My M 151 A1 Restoration Project
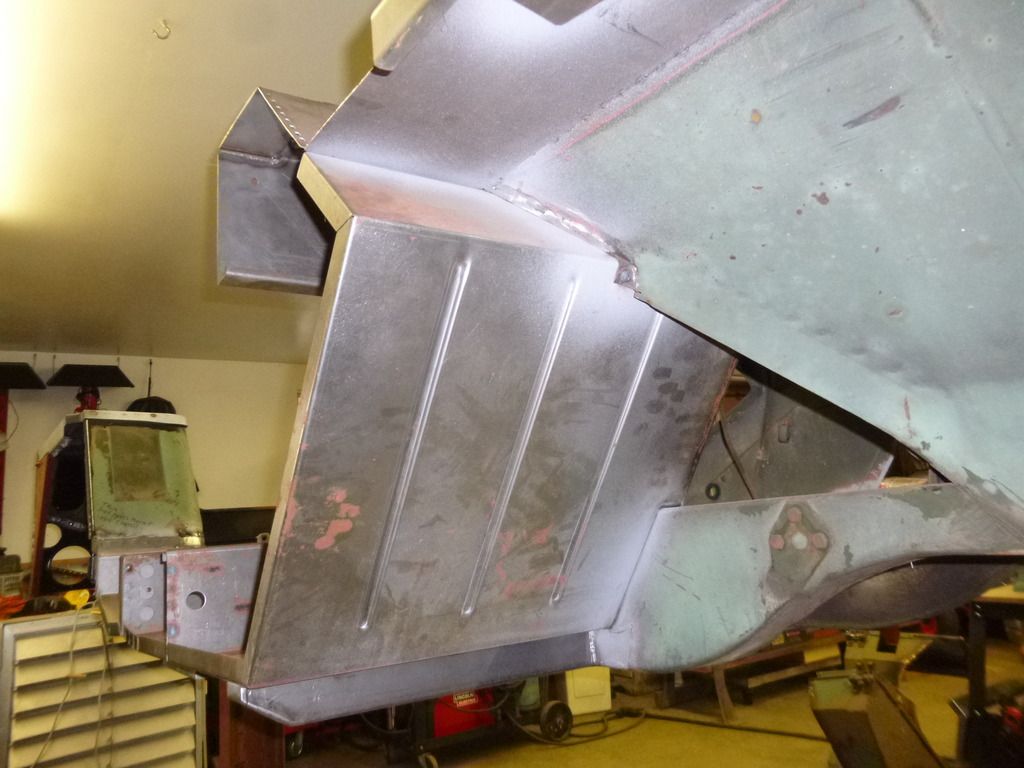
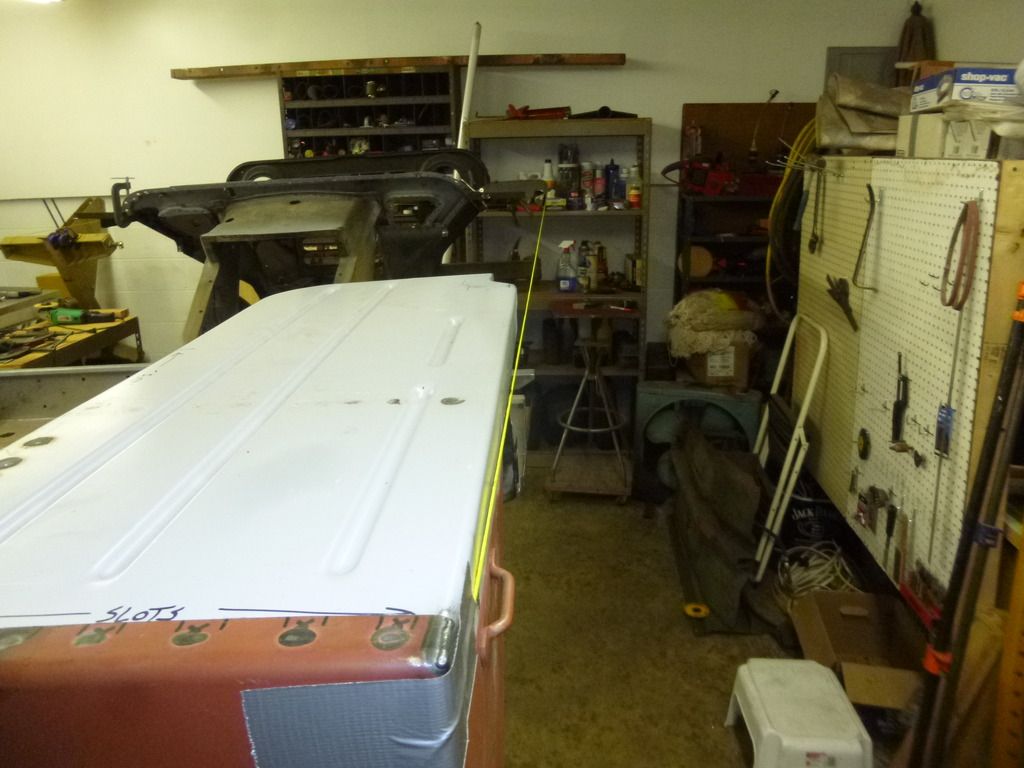
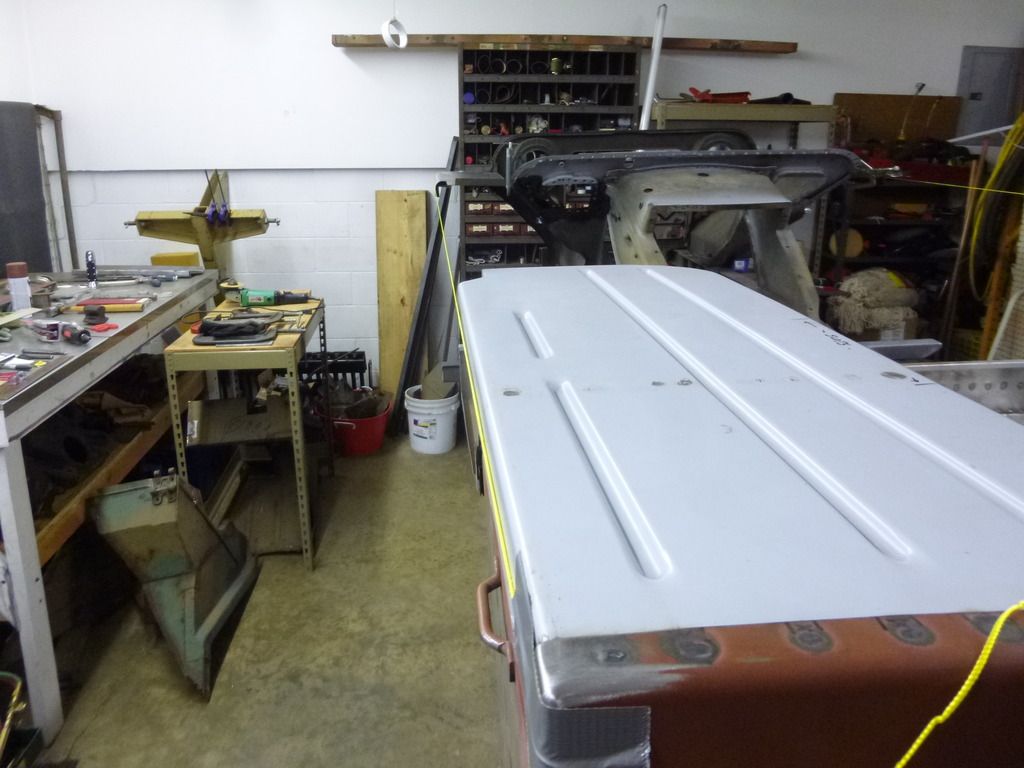
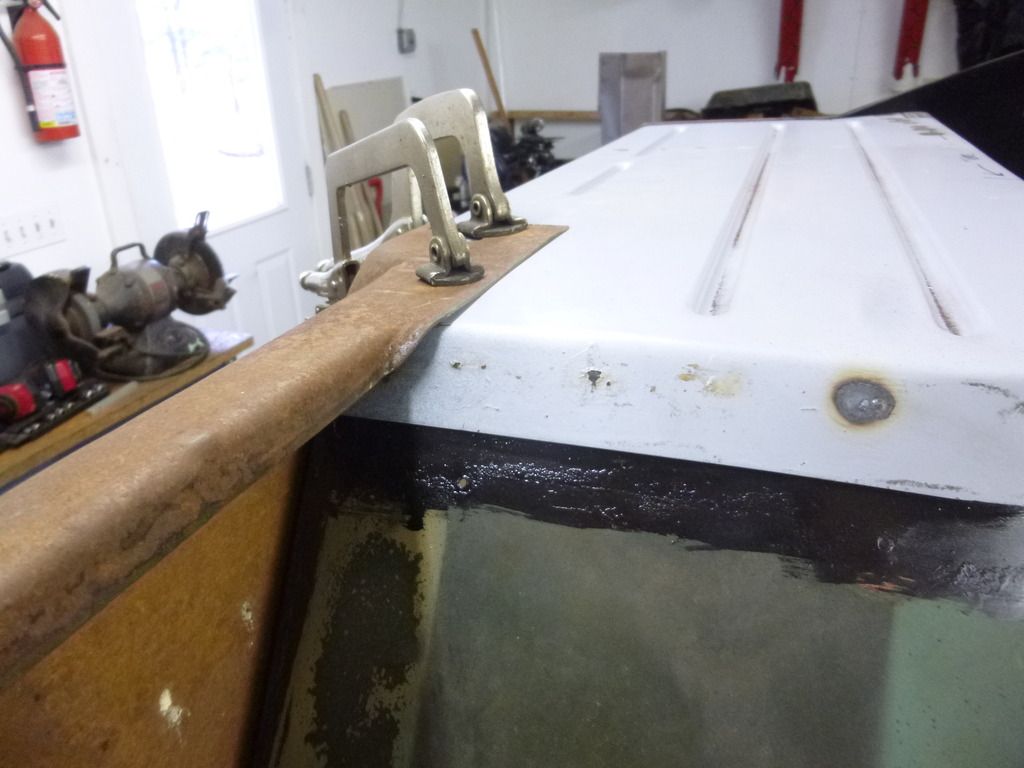
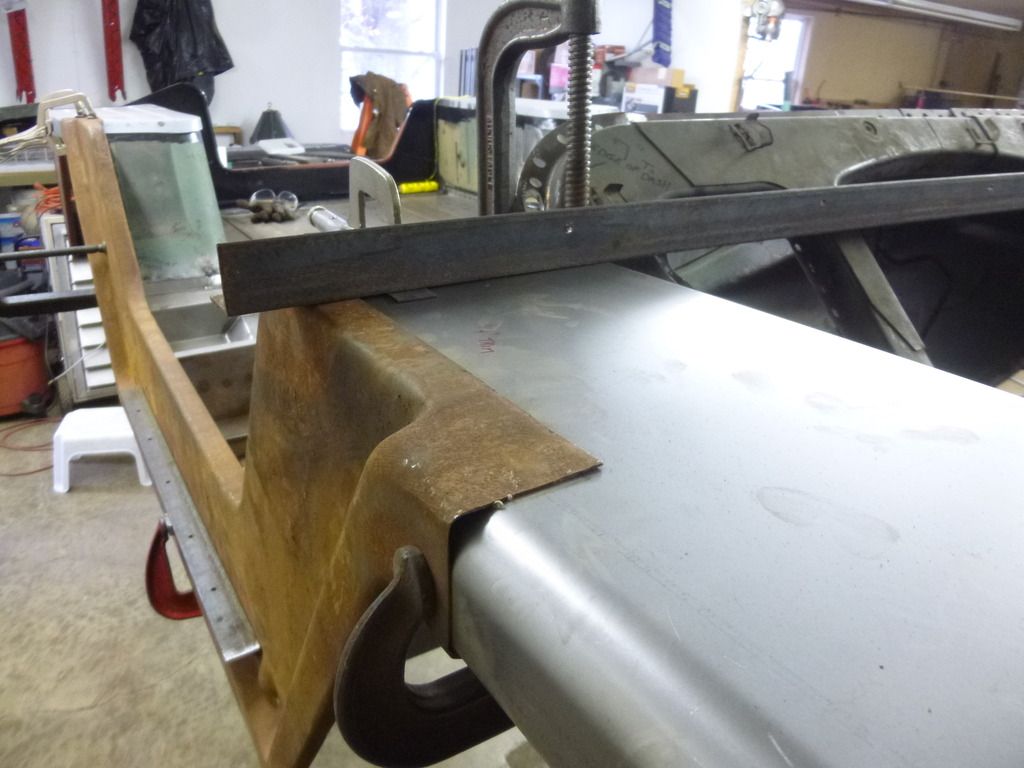
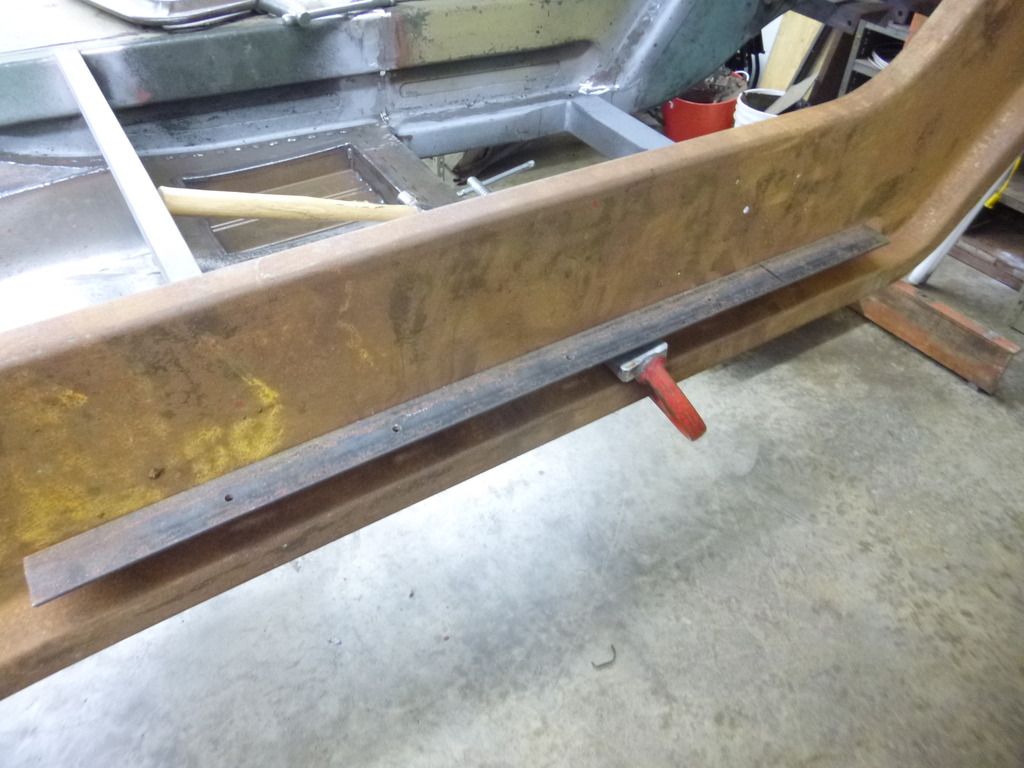
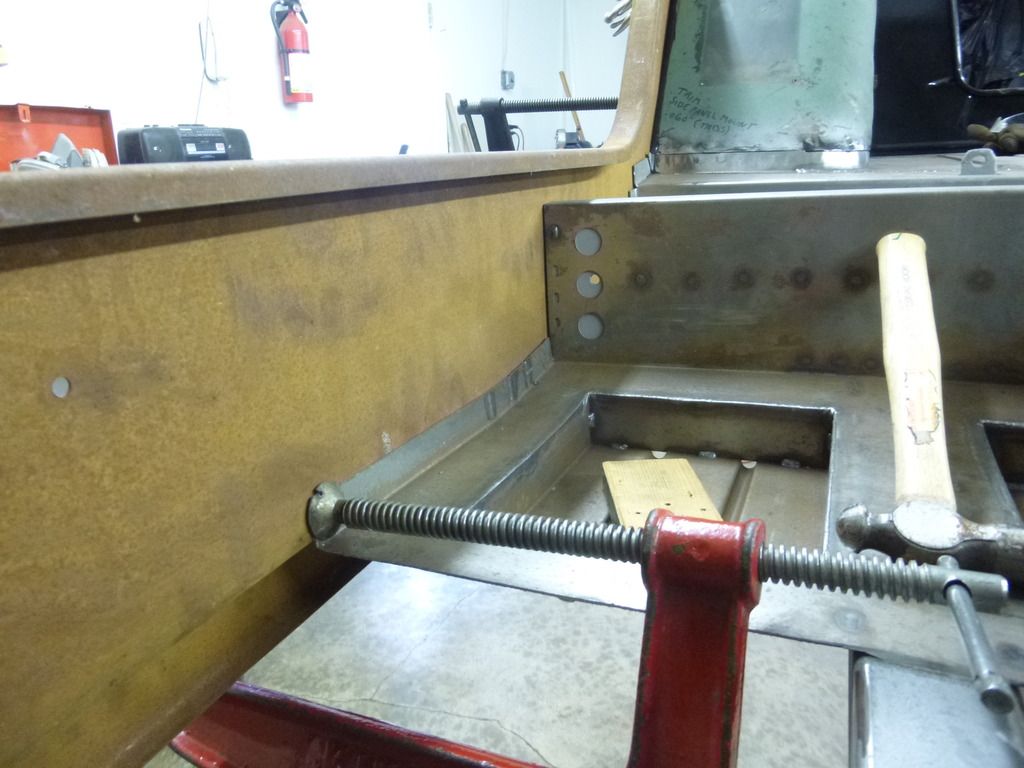
Started working on the fitting the passenger side toe board and front floor. As my truck is an X cut it also took a slight hit on the passenger side rear and driver side front. I was curious to see the relationship of the side of the rear fenders to the front fenders as the should be in a straight line for the side panel. So, I used the same method when we use to hang the body on our dirt track car - string and duct tape! As you can see the passenger side rear is angled in towards the front of the fender and the front fender to angled out some towards the back. Nothing I'm going to worry about but like I said, I was curious. Keep in mind I usually work in 3 place decimals so I had to check!
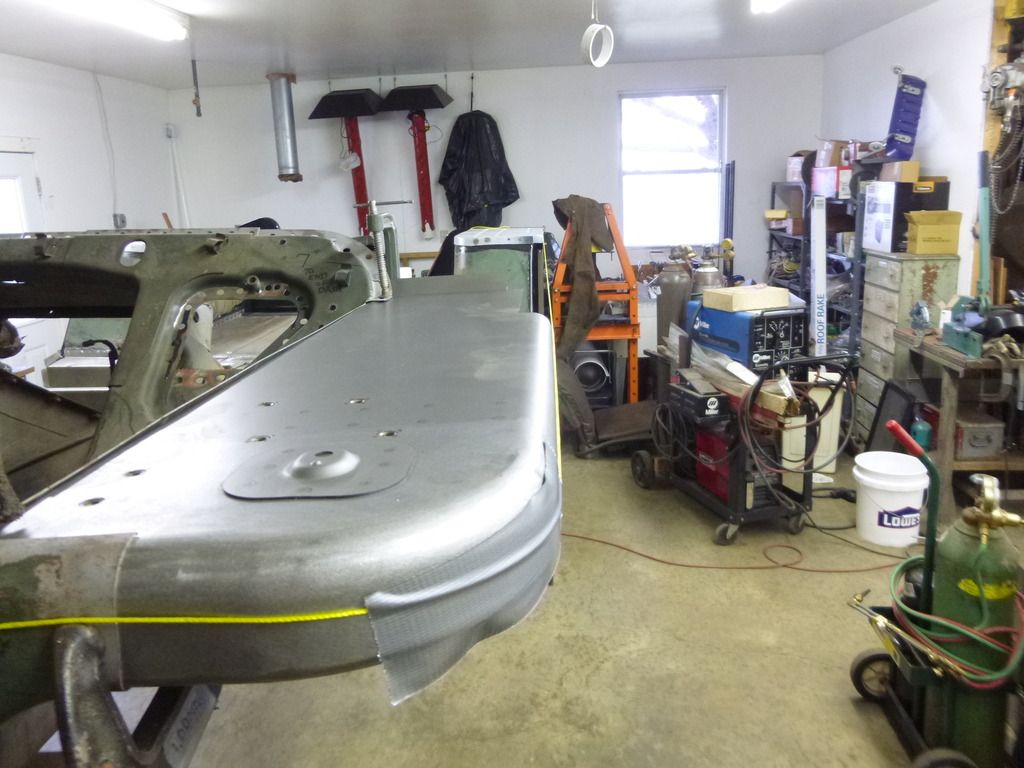
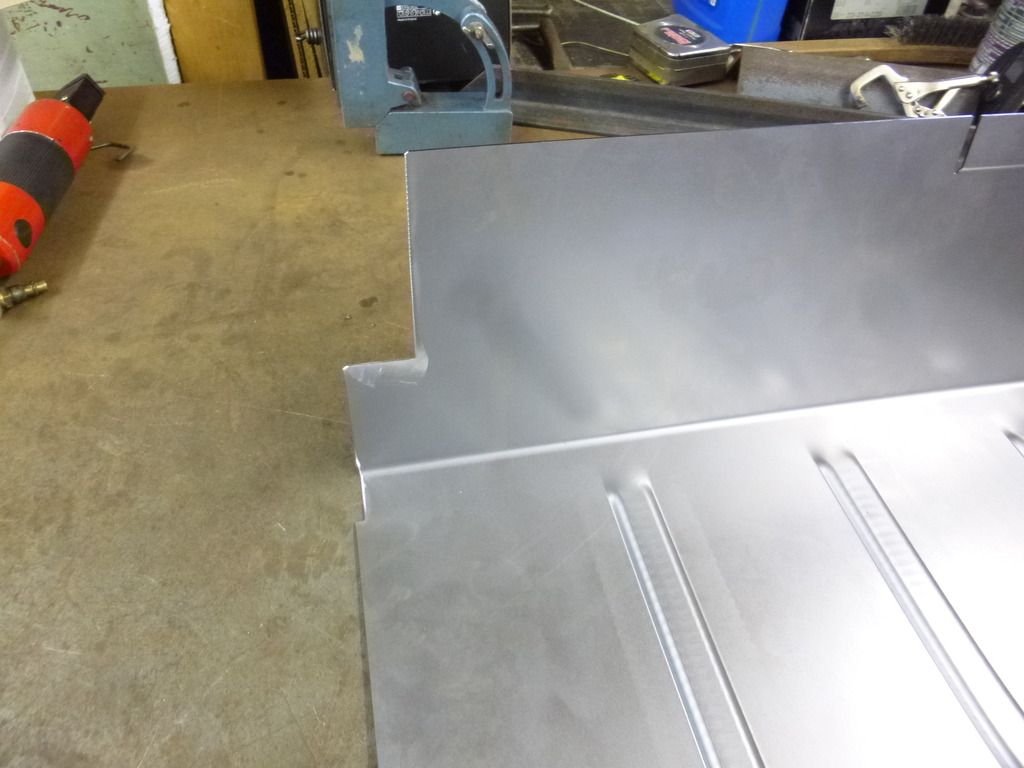
Some minor trim work to get the side to fit up:
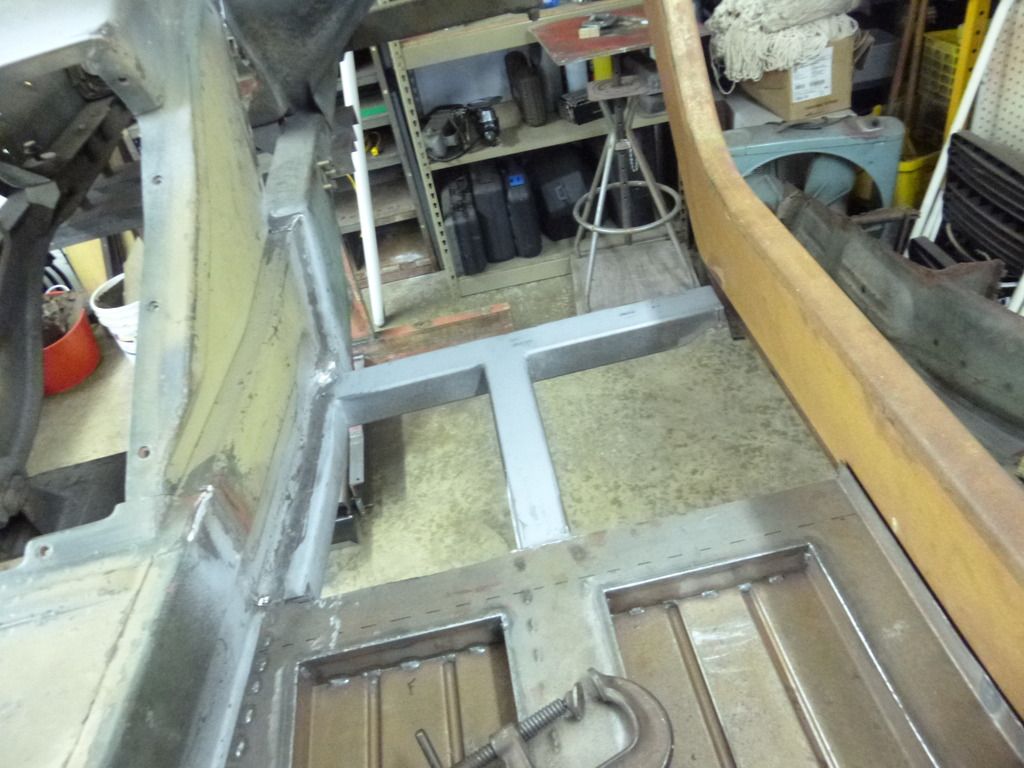
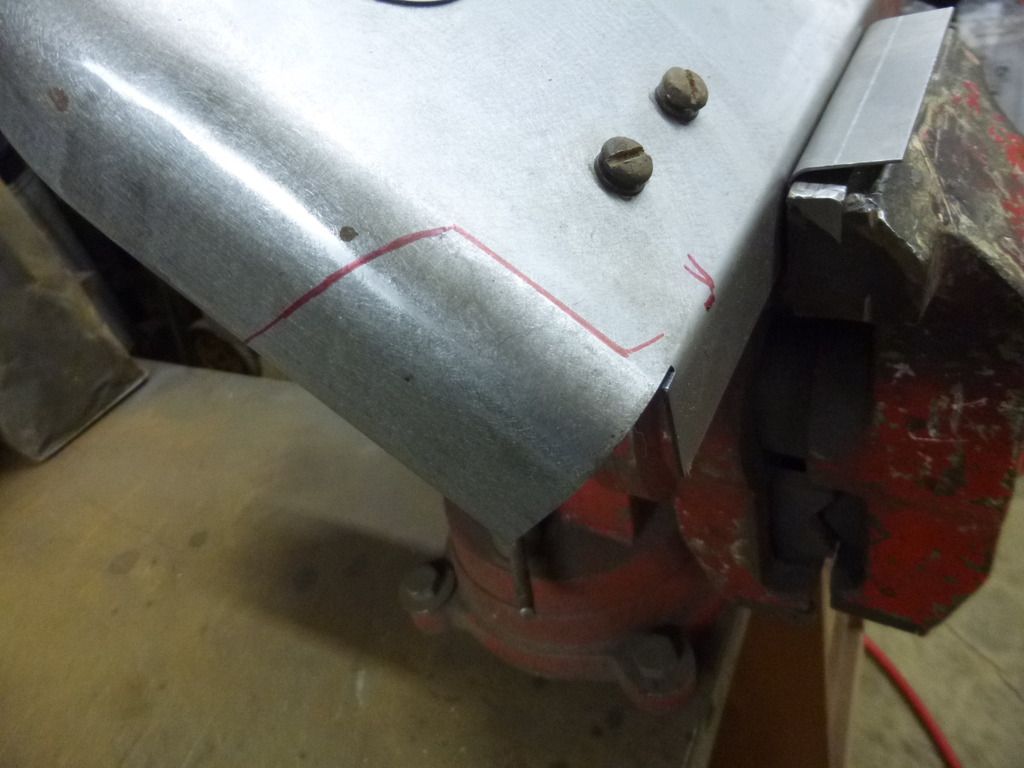
Had to trim a little off of the front fender top:
and slit the rear for where the side panel wraps around:
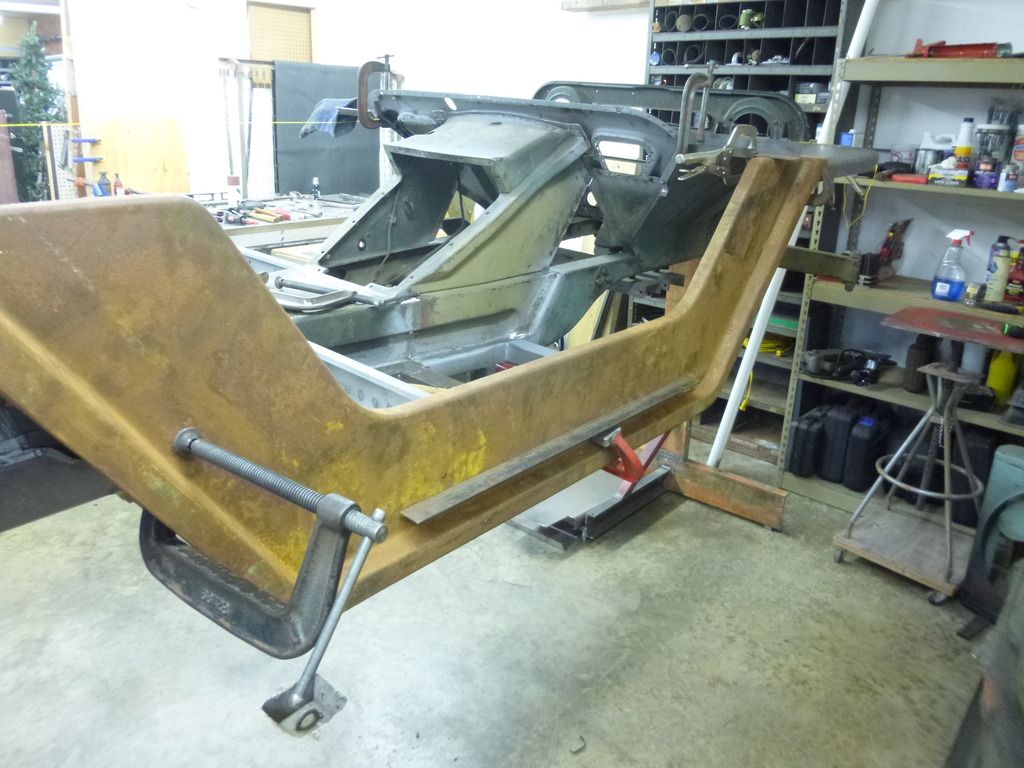
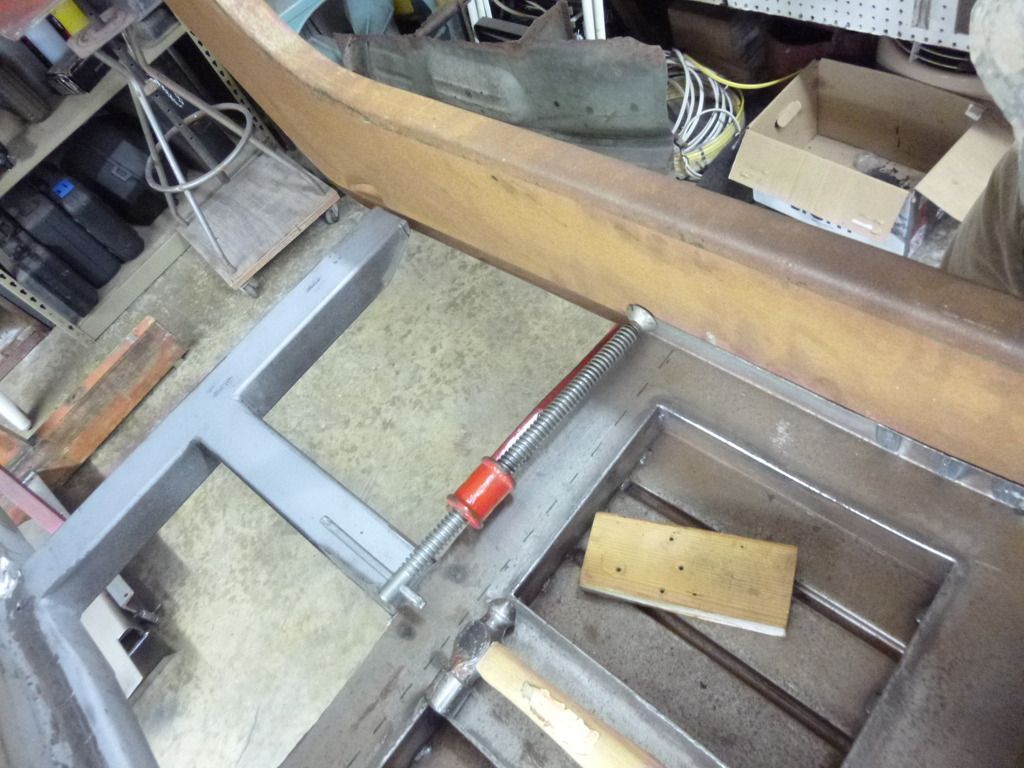
After I had the side fitting up the way it should I was able to get accurate measurements for trimming the toe board:
I like to use a thin 5" cut wheel (.040" I think) on my hand grinder. Works very nice.
Toe board close, starting on floor:
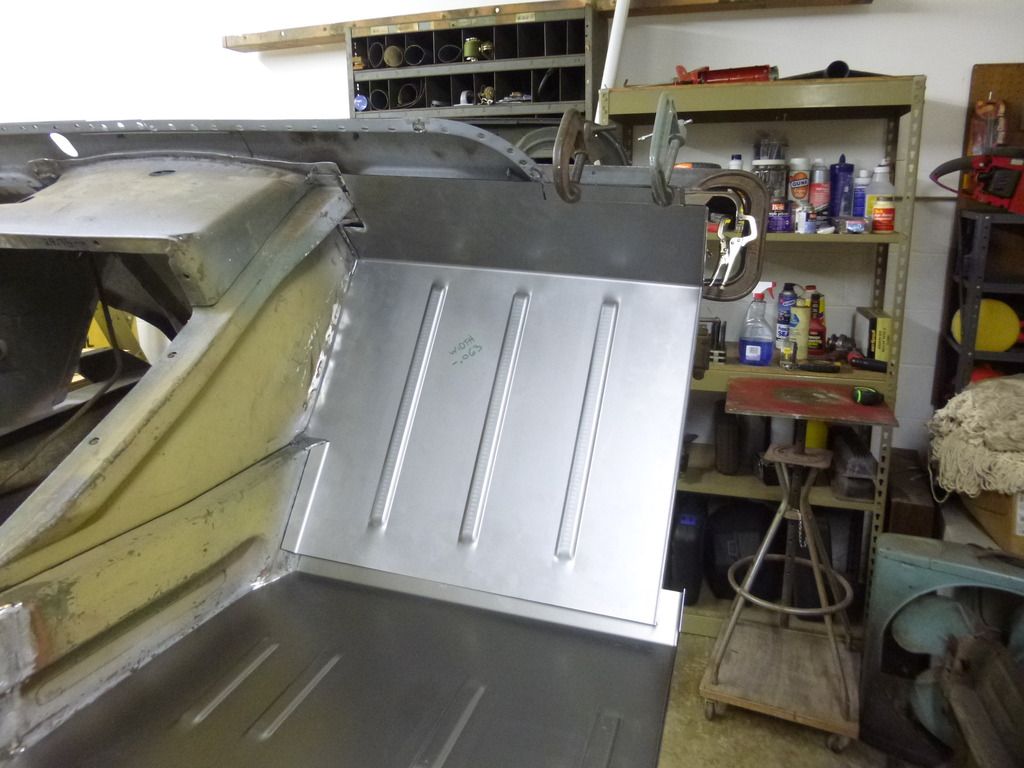
Keep in mind that parts like this I make a little wider. Much easier to remove material compared to trying to add.


At this point I'm going to mock up the seat support. As the seat hinge and latch points determine the location of the seat support which determines the front to back location of the front floor as the edge of the drain cut out aligns up with the bottom edge of the seat support. Once that is know, the exact location (or angle) of the toe board is set. Get all that??
Guy


Some minor trim work to get the side to fit up:


Had to trim a little off of the front fender top:

and slit the rear for where the side panel wraps around:


After I had the side fitting up the way it should I was able to get accurate measurements for trimming the toe board:


I like to use a thin 5" cut wheel (.040" I think) on my hand grinder. Works very nice.

Toe board close, starting on floor:

Keep in mind that parts like this I make a little wider. Much easier to remove material compared to trying to add.


At this point I'm going to mock up the seat support. As the seat hinge and latch points determine the location of the seat support which determines the front to back location of the front floor as the edge of the drain cut out aligns up with the bottom edge of the seat support. Once that is know, the exact location (or angle) of the toe board is set. Get all that??
Guy
M151 Body Panels - http://www.m151bodypanels.com/
'68 A1 - Under full resto
'68 A1 - Under full resto