
Guy: How long is one punch, how hard is it to keep it aligned? A very cool tool indeed.
Floyd
My M 151 A1 Restoration Project
Moderators: rickf, raymond, Mr. Recovery
Re: My M 151 A1 Restoration Project
1961 M151
1967 M416
1988 M35A2C
VFW Life Member
NRA Life Member
1967 M416
1988 M35A2C
VFW Life Member
NRA Life Member
-
lpcoating
- Brigadier General

- Posts: 2030
- Joined: February 19th, 2013, 11:38 pm
- Location: Mansfield, PA
- Contact:
Re: My M 151 A1 Restoration Project
Floyd wrote:Guy: How long is one punch, how hard is it to keep it aligned? A very cool tool indeed.
Floyd
The punch is around 1" long. This will be done on an Amada C1 punch / laser combo machine. It is all CNC controlled and the sheet is held in by clamps so alignment is not an issue. If you have 4:21 min check it out...
https://www.youtube.com/watch?v=01tjpuzwWQM
M151 Body Panels - http://www.m151bodypanels.com/
'68 A1 - Under full resto
'68 A1 - Under full resto

Re: My M 151 A1 Restoration Project
That panel is going to be FANTASTIC Guy. I watched the vid on youtube and all I can say is WOW. 
-
halftracknut
- Brigadier General
- Posts: 2068
- Joined: December 11th, 2007, 2:28 pm
Re: My M 151 A1 Restoration Project
slowest mutt east of the missippi..


Re: My M 151 A1 Restoration Project
Uh-oh, We don't have to dredge out that old picture of you do we? not THAT makes you outdated.halftracknut wrote:
1964 M151A1
1984 M1008
1967 M416
04/1952 M100
12/1952 M100- Departed
AN/TSQ-114A Trailblazer- Gone
1984 M1008
1967 M416
04/1952 M100
12/1952 M100- Departed
AN/TSQ-114A Trailblazer- Gone
-
lpcoating
- Brigadier General
- Posts: 2030
- Joined: February 19th, 2013, 11:38 pm
- Location: Mansfield, PA
- Contact:
Re: My M 151 A1 Restoration Project
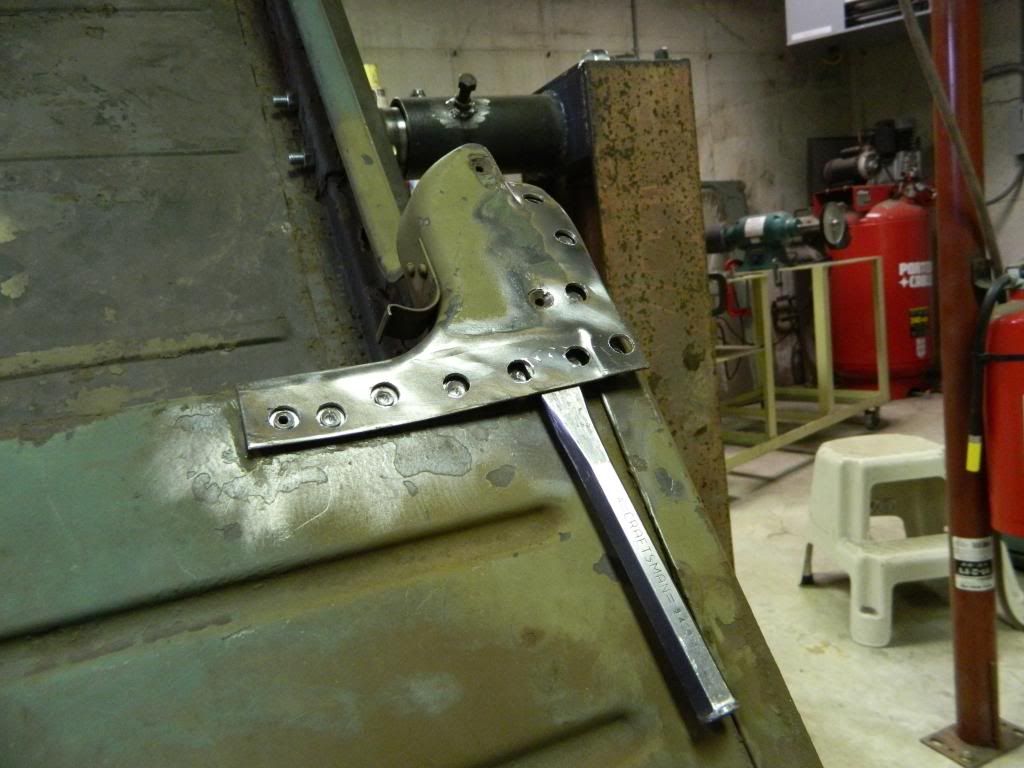
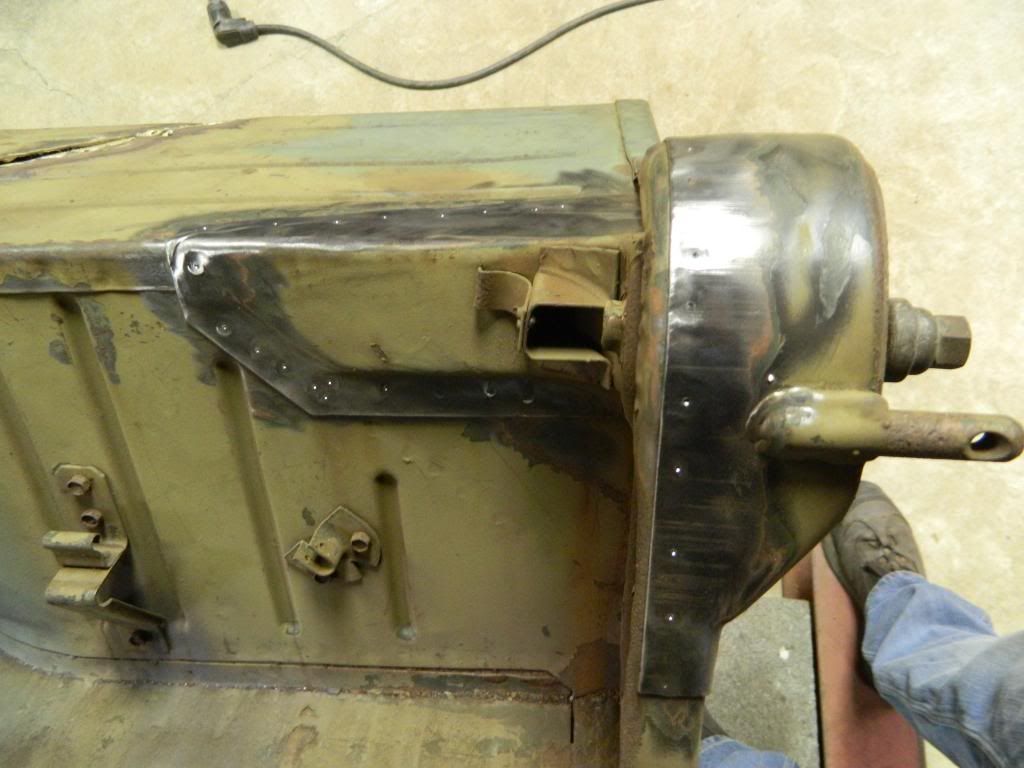
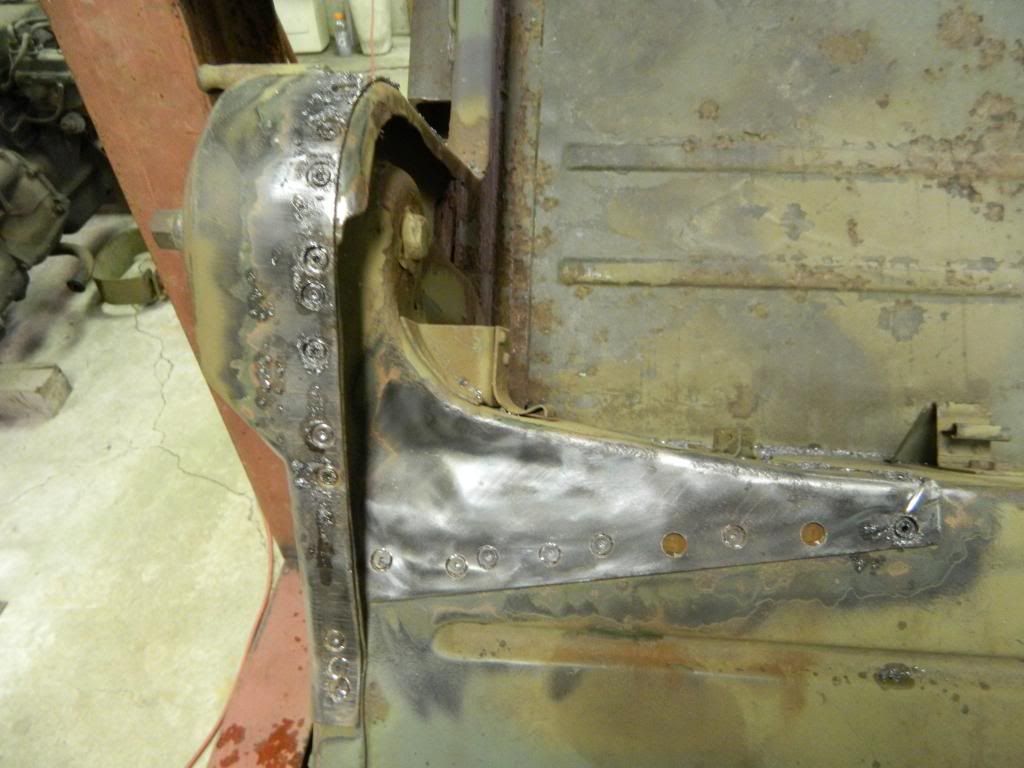
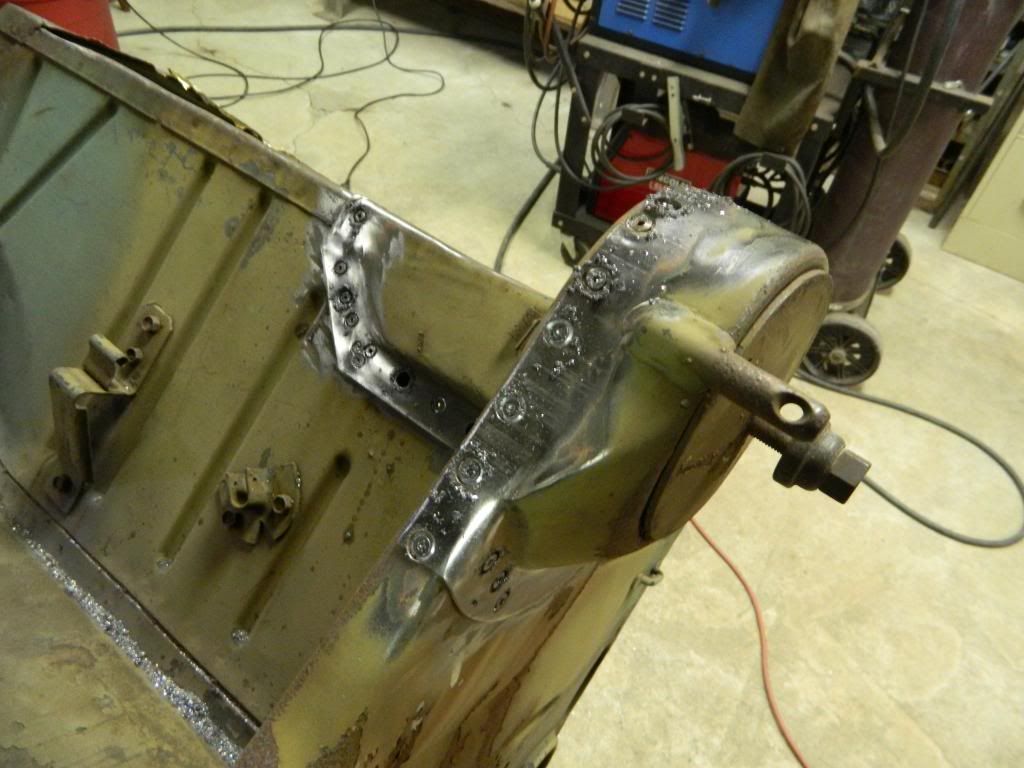
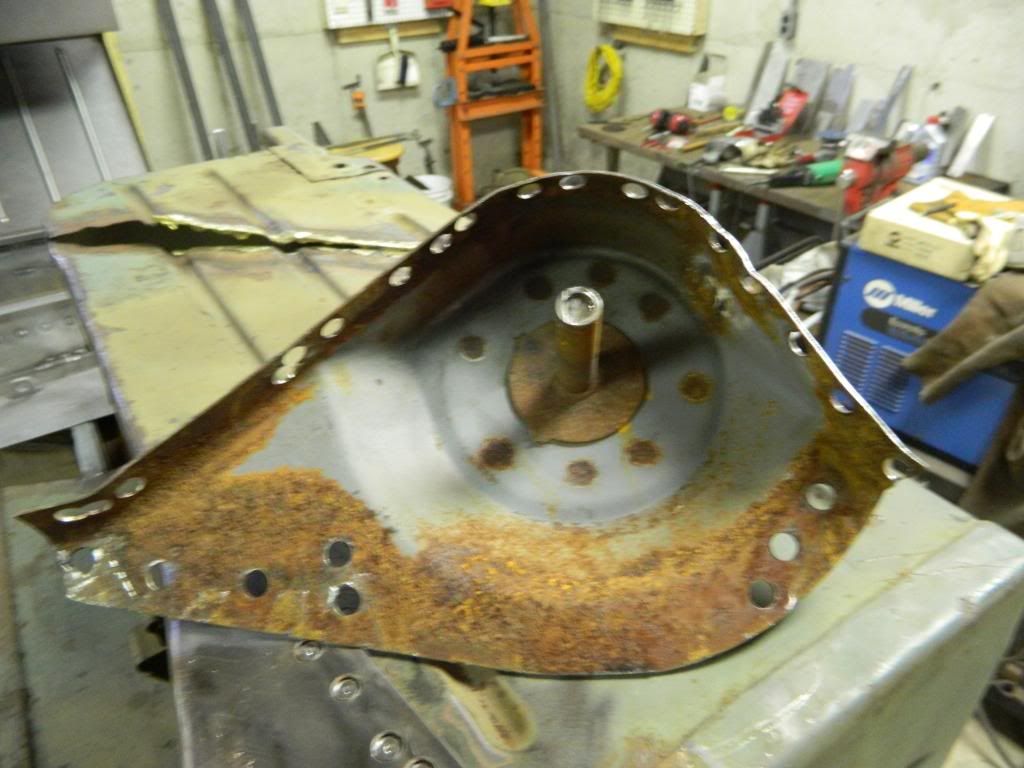
I started working on the rear panel today. I removed the corner support on the drivers side and the spare tire bracket. The spare tire bracket took some time and I still have to remove the vertical brace (for the spare tire bracket) located on the inside of the rear panel. Here are some pictures:
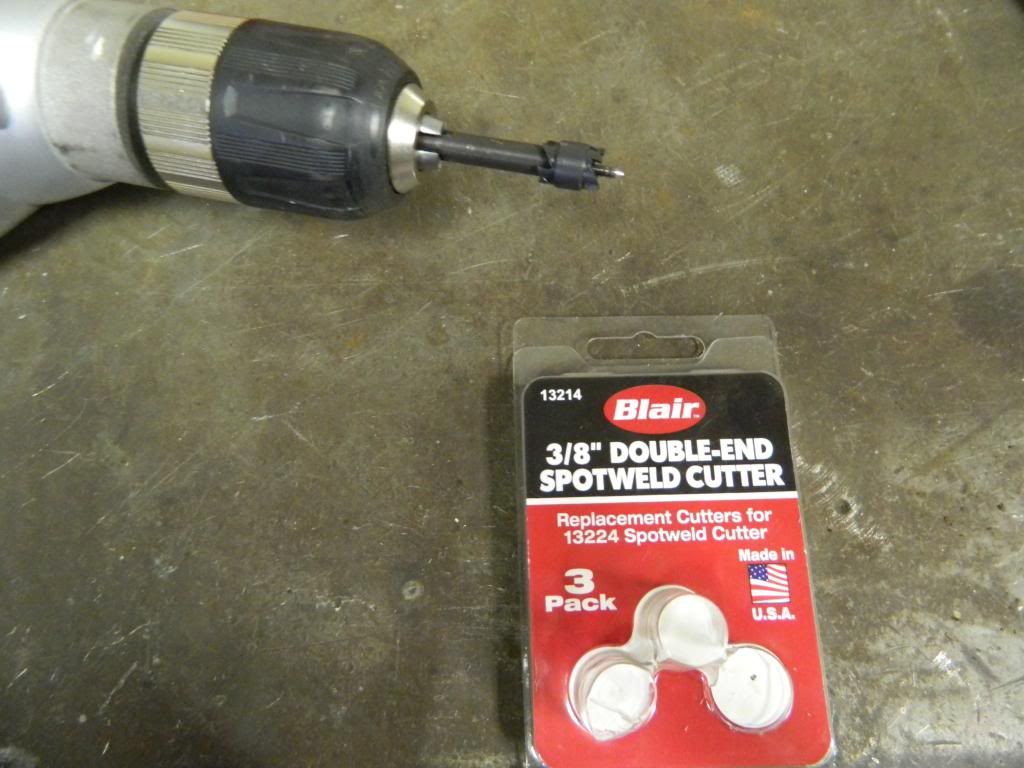
This is the tool that I use for cutting the spotwelds. The cutting head is replaceable and has two cutting sides. The cutters are threaded on the ID and the center pin is spring loaded. A pack of three (6 cutting sides) goes for about $20. I use a prick punch on the center of the spotweld and then drill a small hole for the center pin of the cutter. This prevents the cutter from slipping and breaking the teeth. I use a small about of oil about every other cut.
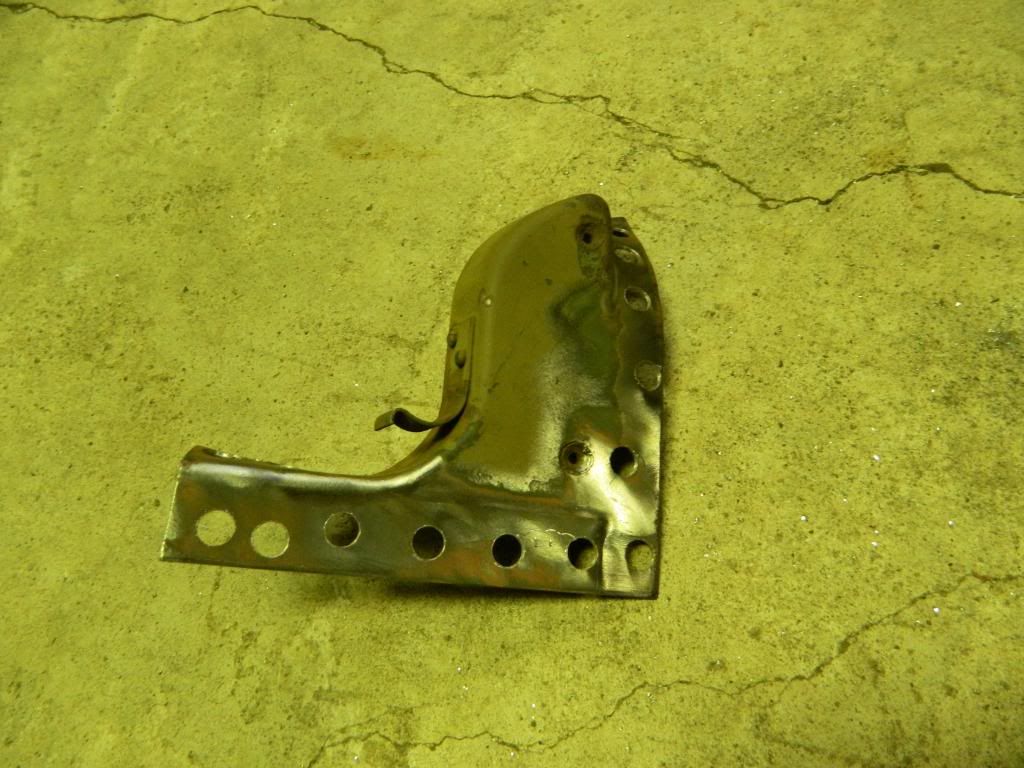
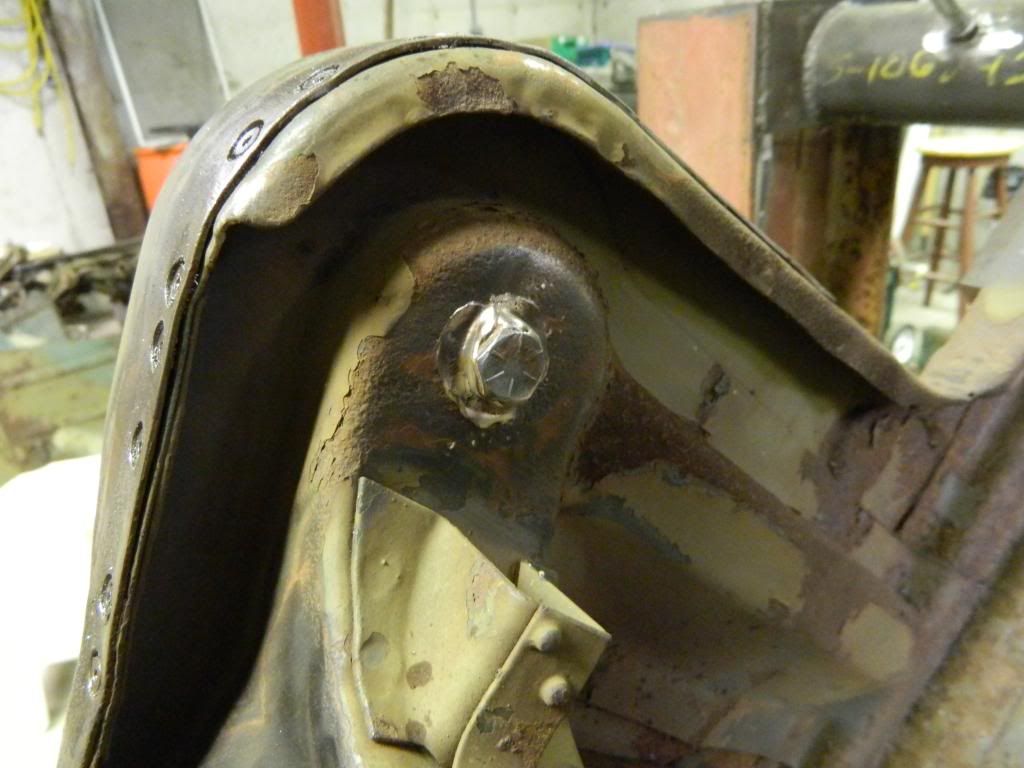
I was surprised that the bolt that holds the spare tire on was brazed to the bracket and not welded.
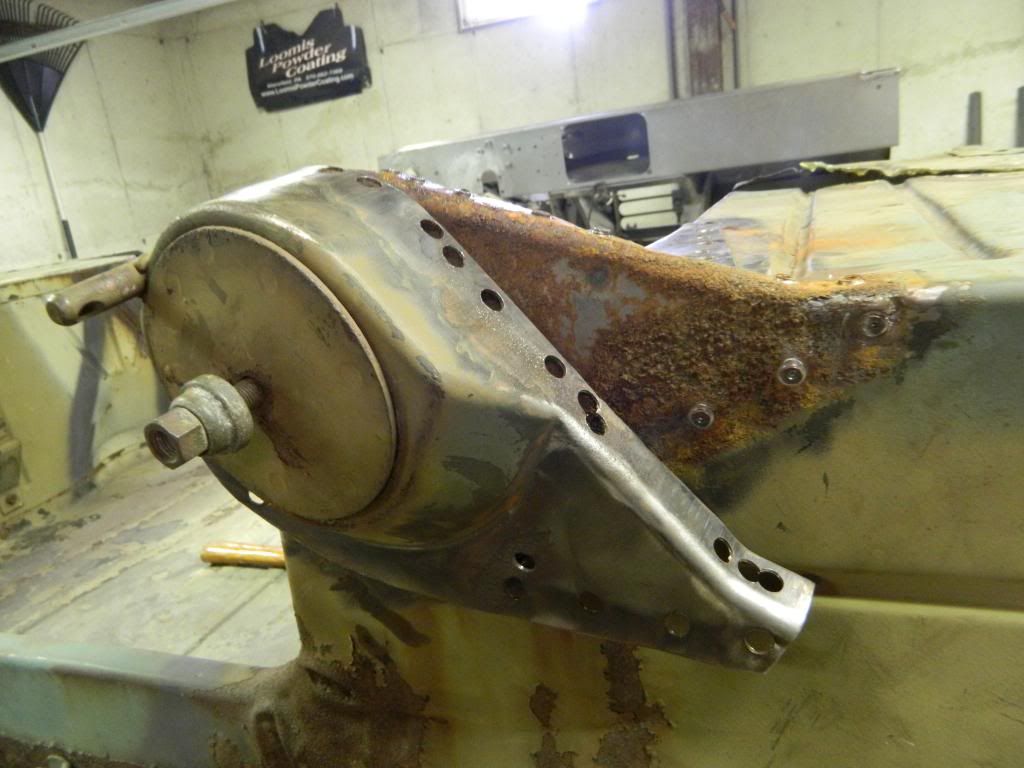
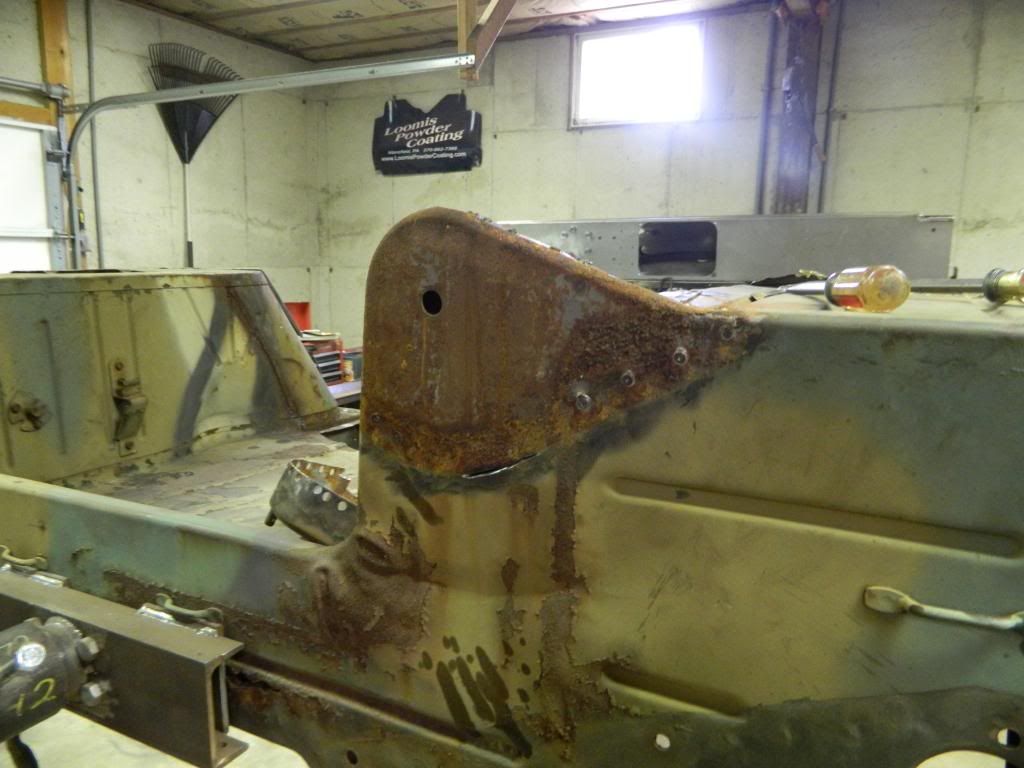
Tomorrow I will continue cutting spotwelds and my goal is to have the fender tops and rear panel off the body by Sunday.
This is the tool that I use for cutting the spotwelds. The cutting head is replaceable and has two cutting sides. The cutters are threaded on the ID and the center pin is spring loaded. A pack of three (6 cutting sides) goes for about $20. I use a prick punch on the center of the spotweld and then drill a small hole for the center pin of the cutter. This prevents the cutter from slipping and breaking the teeth. I use a small about of oil about every other cut.
I was surprised that the bolt that holds the spare tire on was brazed to the bracket and not welded.
Tomorrow I will continue cutting spotwelds and my goal is to have the fender tops and rear panel off the body by Sunday.
M151 Body Panels - http://www.m151bodypanels.com/
'68 A1 - Under full resto
'68 A1 - Under full resto
-
lpcoating
- Brigadier General
- Posts: 2030
- Joined: February 19th, 2013, 11:38 pm
- Location: Mansfield, PA
- Contact:
Re: My M 151 A1 Restoration Project
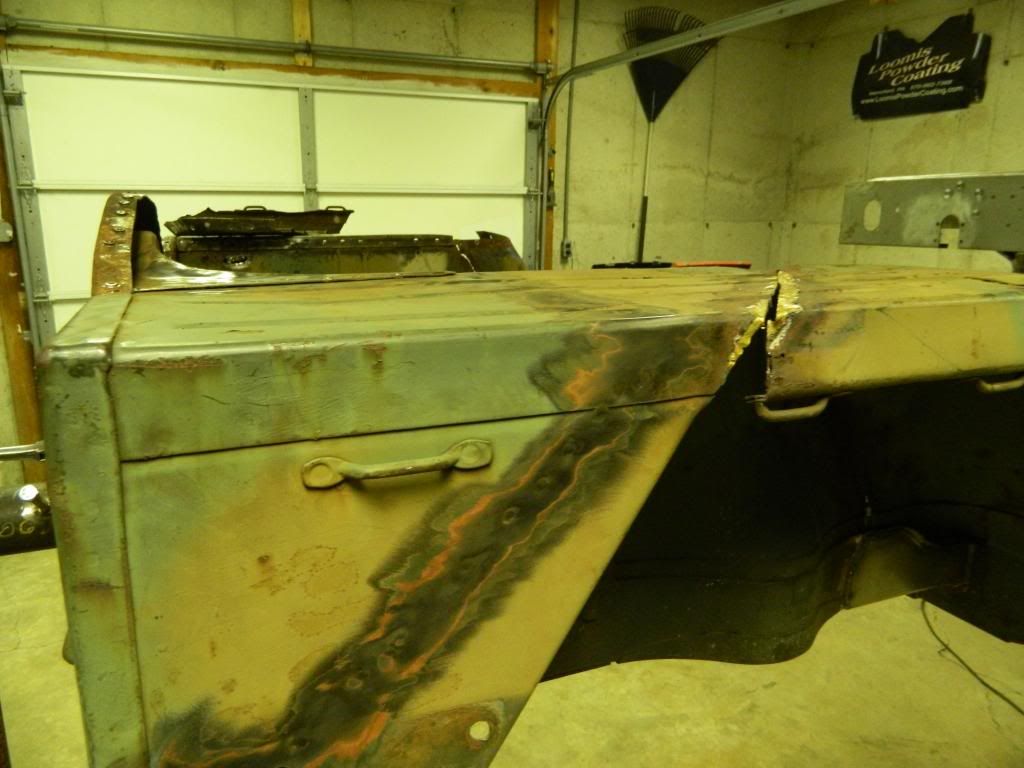
Here it is Dan...
M151 Body Panels - http://www.m151bodypanels.com/
'68 A1 - Under full resto
'68 A1 - Under full resto
-
Mr. Recovery

- Brigadier General
- Posts: 2895
- Joined: December 5th, 2007, 9:03 pm
- Location: New Port Richey, Fl.
- Contact:
Re: My M 151 A1 Restoration Project
I hope this will work. 
Outside edge of the back panel to the side panel seam is 23-3/4"


Inside lip of back panel to the side panel seam is 22-3/4"


Outside edge of the back panel to the side panel seam is 23-3/4"
Inside lip of back panel to the side panel seam is 22-3/4"
1960 M151 Run 1
1963 M151 Willys DoD 10-63 in Baltimore
1989 Alley Cat. "work in Progress"
NRA Life Member
American Legion Post 275 Fl
US Army 6 years 2nd Armored Cavalry Bindlach Germany
Colorado Army Nat. Guard 5 years
Md Air Guard 15 years active duty on C-130's
1963 M151 Willys DoD 10-63 in Baltimore
1989 Alley Cat. "work in Progress"
NRA Life Member
American Legion Post 275 Fl
US Army 6 years 2nd Armored Cavalry Bindlach Germany
Colorado Army Nat. Guard 5 years
Md Air Guard 15 years active duty on C-130's
-
lpcoating
- Brigadier General
- Posts: 2030
- Joined: February 19th, 2013, 11:38 pm
- Location: Mansfield, PA
- Contact:
Re: My M 151 A1 Restoration Project
I'm talking about the area on mine where it's cut. It's in the 12.5" - 13" in your picture. Thanks.
Guy
Guy
M151 Body Panels - http://www.m151bodypanels.com/
'68 A1 - Under full resto
'68 A1 - Under full resto
-
Mr. Recovery
- Brigadier General
- Posts: 2895
- Joined: December 5th, 2007, 9:03 pm
- Location: New Port Richey, Fl.
- Contact:
Re: My M 151 A1 Restoration Project
OK, try this, as that area is still a little wavey I would go with 12-11/16"lpcoating wrote:I'm talking about the area on mine where it's cut. It's in the 12.5" - 13" in your picture. Thanks.
Guy


1960 M151 Run 1
1963 M151 Willys DoD 10-63 in Baltimore
1989 Alley Cat. "work in Progress"
NRA Life Member
American Legion Post 275 Fl
US Army 6 years 2nd Armored Cavalry Bindlach Germany
Colorado Army Nat. Guard 5 years
Md Air Guard 15 years active duty on C-130's
1963 M151 Willys DoD 10-63 in Baltimore
1989 Alley Cat. "work in Progress"
NRA Life Member
American Legion Post 275 Fl
US Army 6 years 2nd Armored Cavalry Bindlach Germany
Colorado Army Nat. Guard 5 years
Md Air Guard 15 years active duty on C-130's
-
lpcoating
- Brigadier General
- Posts: 2030
- Joined: February 19th, 2013, 11:38 pm
- Location: Mansfield, PA
- Contact:
Re: My M 151 A1 Restoration Project
Thanks Dan. That's what I needed...
M151 Body Panels - http://www.m151bodypanels.com/
'68 A1 - Under full resto
'68 A1 - Under full resto
-
lpcoating
- Brigadier General
- Posts: 2030
- Joined: February 19th, 2013, 11:38 pm
- Location: Mansfield, PA
- Contact:
Re: My M 151 A1 Restoration Project
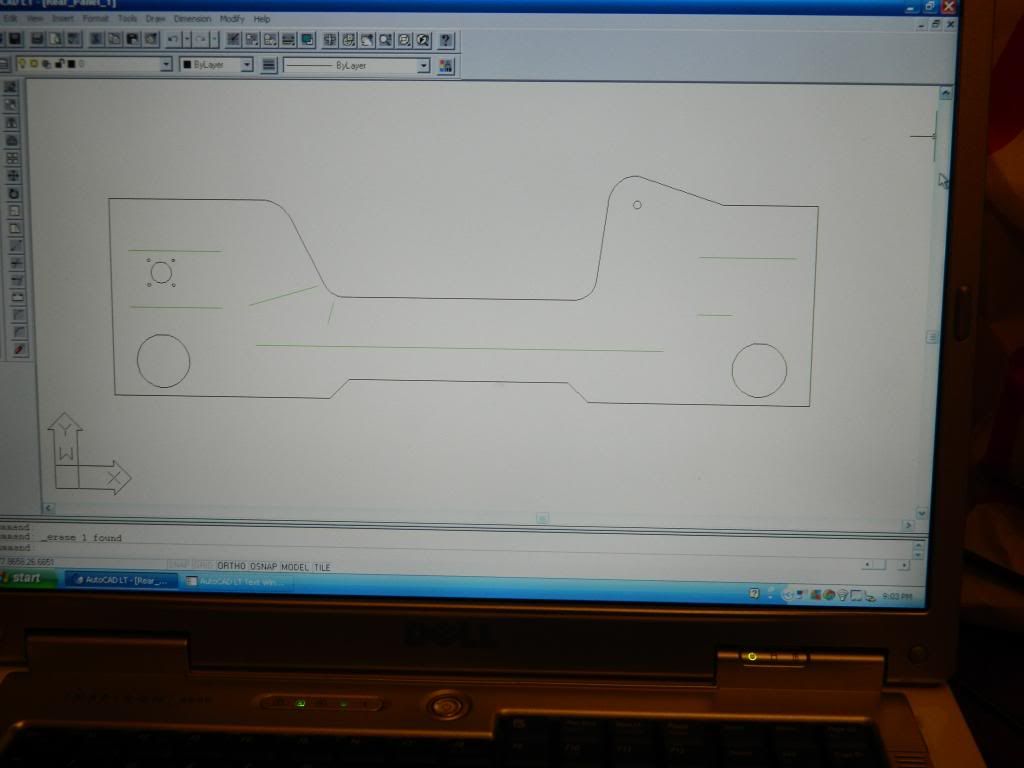
I wanted to get the rear panel and fender tops off this past weekend. I did not get as far as I would have liked but I did get part of the drivers side (in front of the cut) removed and cut a good amount of spot welds. I then took measurements of the rear panel and as you can see below have the majority of the rear panel drawn in AutoCad. This is only the rear view as I have to add the side flanges. For those of you that have used any version of Cad you know that this is not a big deal to draw. The challenging part is getting all of the dimensions correct on dented sheet metal. My panel is in pretty good shape so it was not too bad of a job. I took a blue print course in college and now I'm glad I did as I still have the drawing kit from the class. The panel has three different radii sizes. I took measurements that I thought were close then came up with the idea to draw them on paper with a compass, cut them out and then tape them to the panel for comparison. Might not be a high tech way to do it but it worked. The green lines are where the beads are located. My computer started acting up and I was not able to finish the beads on the passenger side. I'll get this figured out by the end of the week and hopefully make a rear panel sometime next week.
M151 Body Panels - http://www.m151bodypanels.com/
'68 A1 - Under full resto
'68 A1 - Under full resto
Re: My M 151 A1 Restoration Project
That is pretty much what I did with my rear panel the only differance is that I cut a temp plate out of 1/4 " plywood , reason was my rear panel was 75% gone. Well done Guy
Re: My M 151 A1 Restoration Project
I find drilling the spot welds a real pita even with the spot weld bit just so much work finding all the welds. It seems to work better for me doing a few at a time.
-
lpcoating
- Brigadier General
- Posts: 2030
- Joined: February 19th, 2013, 11:38 pm
- Location: Mansfield, PA
- Contact:
Re: My M 151 A1 Restoration Project
RCA827 wrote:I find drilling the spot welds a real pita even with the spot weld bit just so much work finding all the welds. It seems to work better for me doing a few at a time.
I agree. I will sometimes use a grinder with a wire wheel to dust off the paint or use a 2" air grinder with a 60 grit pad. The spot weld is the depression that still has some paint in it!
M151 Body Panels - http://www.m151bodypanels.com/
'68 A1 - Under full resto
'68 A1 - Under full resto