M151A2 6022 Project pictures.

A place to post pics and descriptions of ongoing restoration projects

Moderators: rickf, raymond, Mr. Recovery

Post Reply
Aswayze
Sergeant First Class
Posts: 288
Joined: July 10th, 2013, 7:50 am
Location: Kansas City, Kansas
Contact:

M151A2 6022 Project pictures.

Unread post by Aswayze » January 4th, 2015, 9:59 pm

First we'll get everyone up to speed on this one:


Aug 27th 2012, Fitz and Warnick buy a pair of Mutts off of Craigs List from a seller in Drexel, Missouri.   Both are crushed, one of them is a later model American General M151A2 that is destined to become Mutt 6022.  

Image
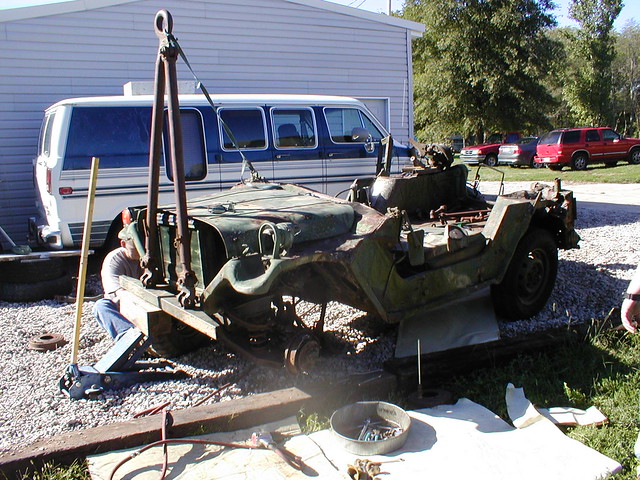
Work grinds to a start on 6022.  This one came to us with a damaged front wheel bearing so we had to change the drivers front hub assembly just to be able to roll it.  Prior to that, we had to move it around like a wheel barrow just picking up the front end and rolling on the rear tires.  

Image
Yanking out cut off sections of the ROPS roll cage.  

Image
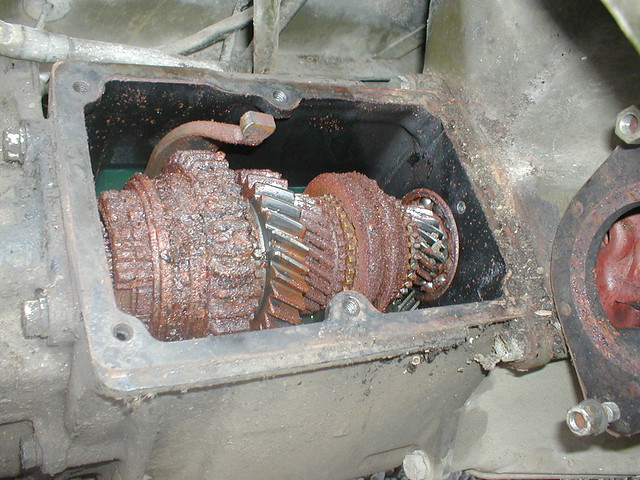
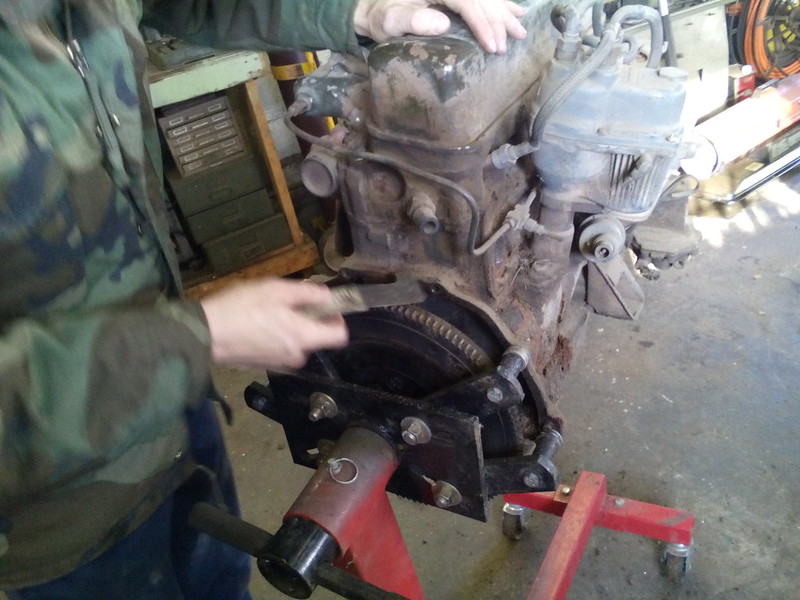
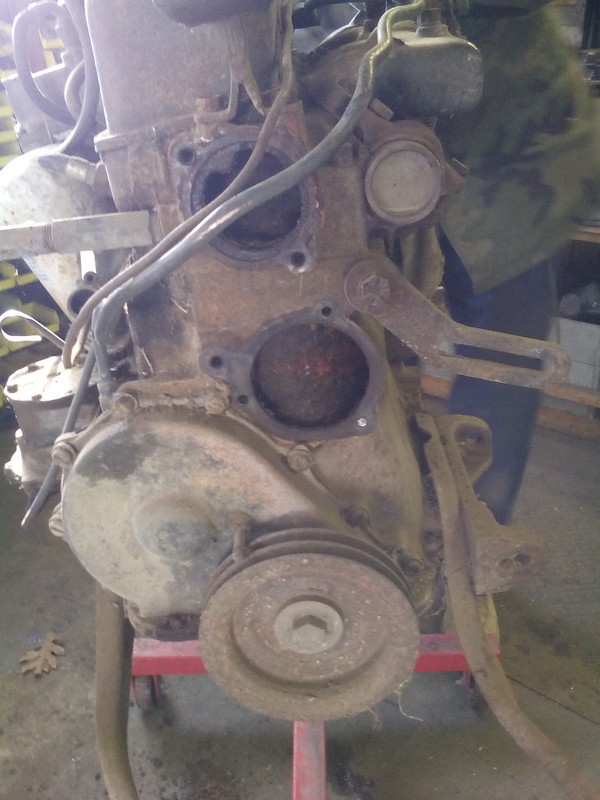
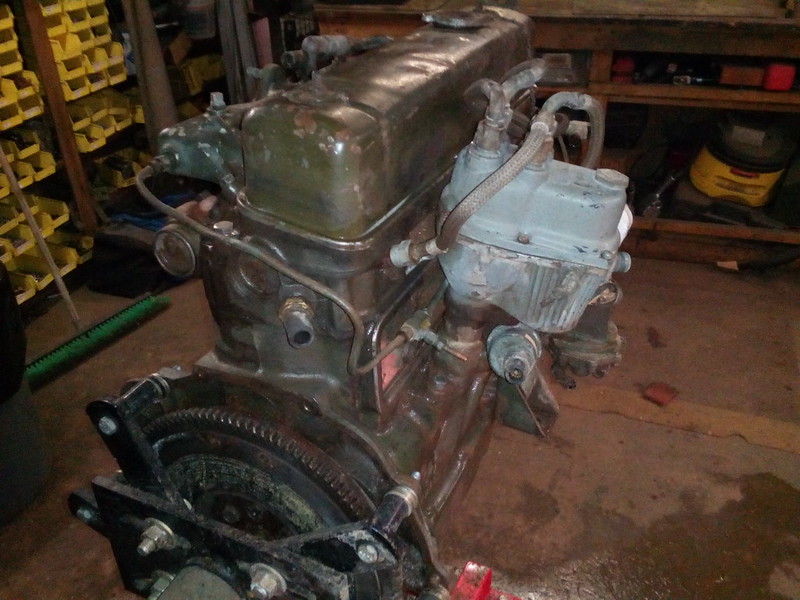
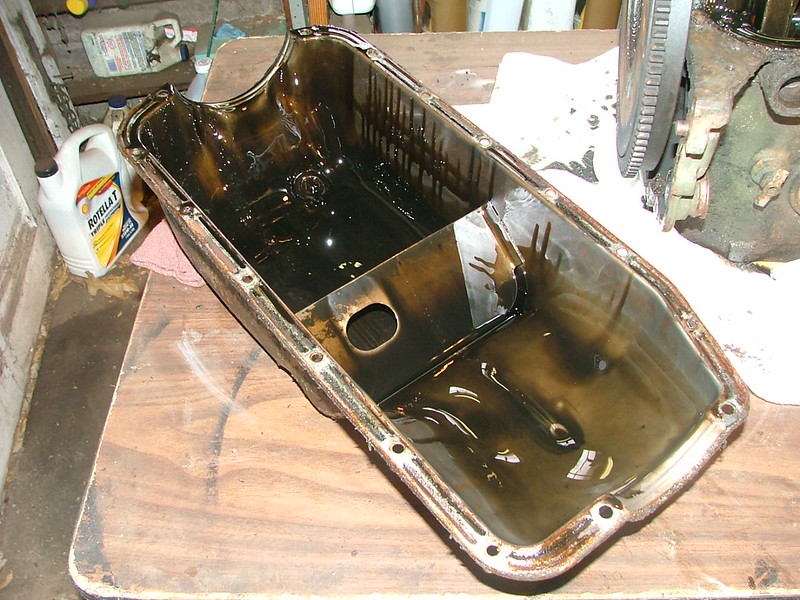
Original transmission, not so good!  


Image
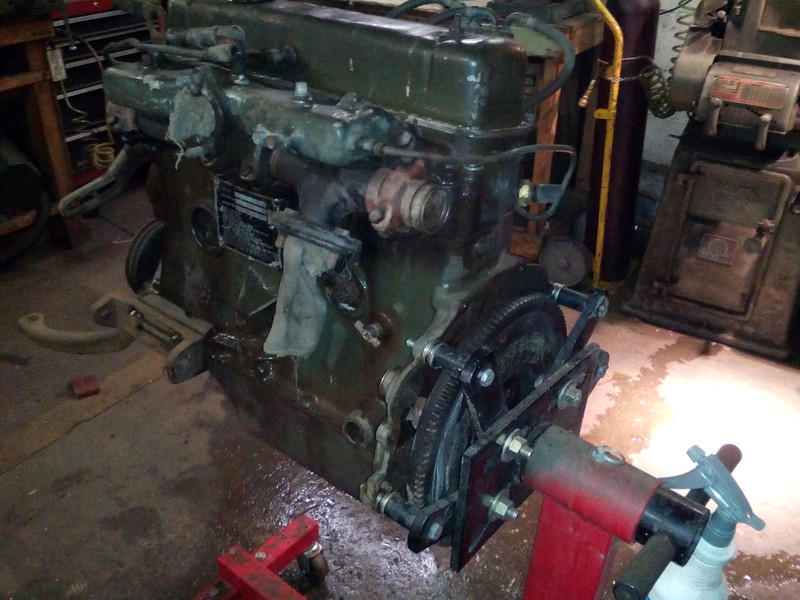
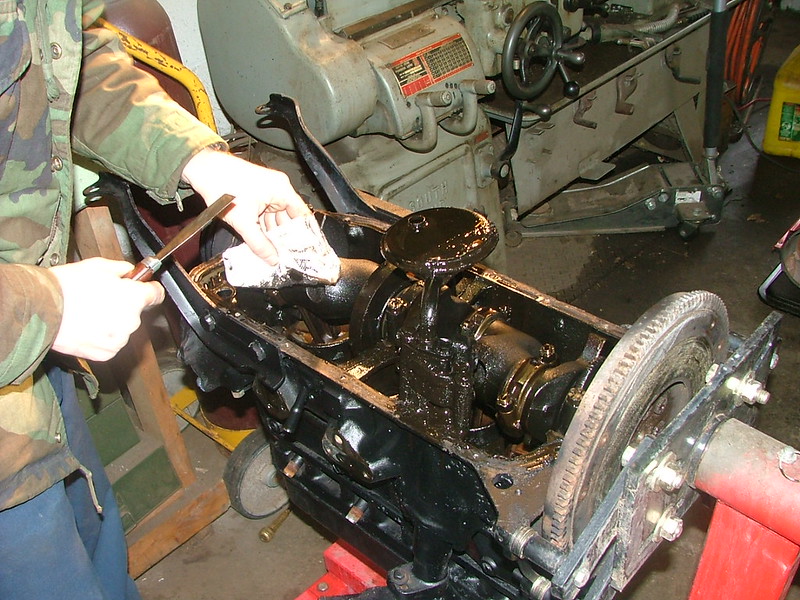
Getting the front end together.


Image
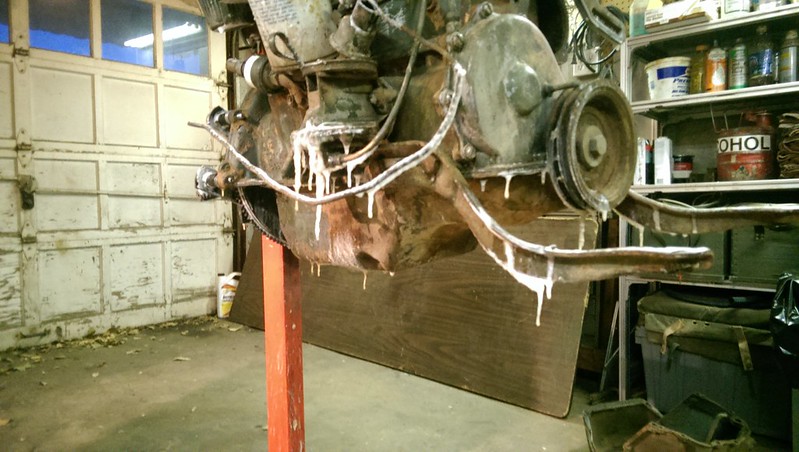
Flipped on it's side for clean up.   Was nice to see that the underside was in good shape and that the main support up front had been repaired quite well therefore saving us the usual hassles of doing it.  

Image
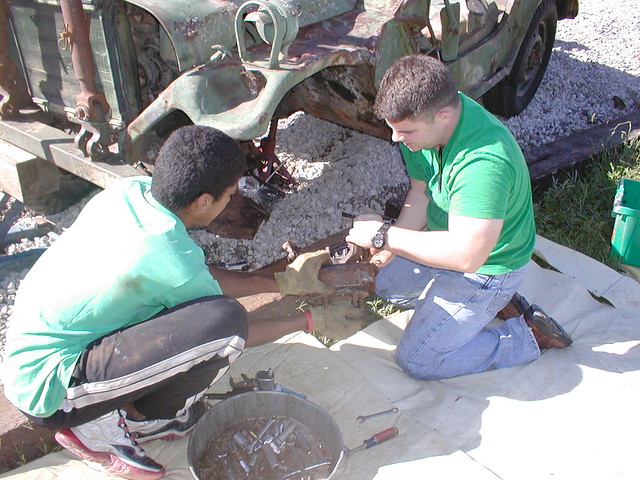
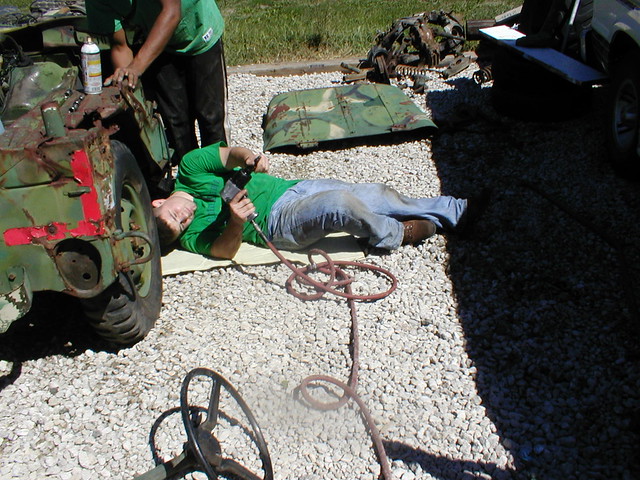
As part of the demil process, 6022 had it's suspension cut by the gov prior to being passed out of service.  Here Dave it carefully stitching it back together.  

Image
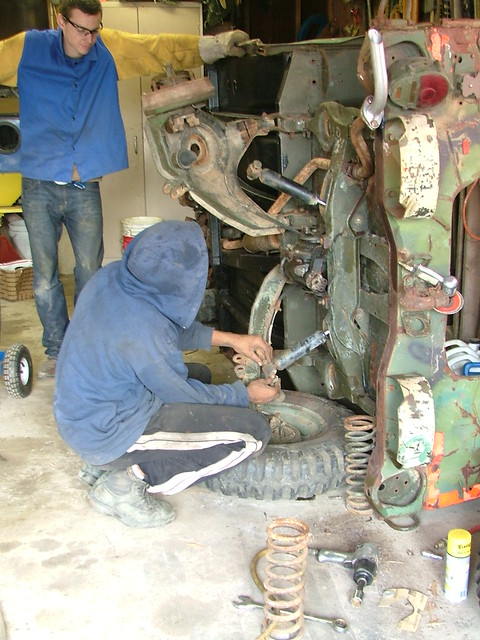
Davey and Curfman, taking loose the shocks and removing the springs to let the suspension flip all the way back for easy access to do reweld work.  

Image
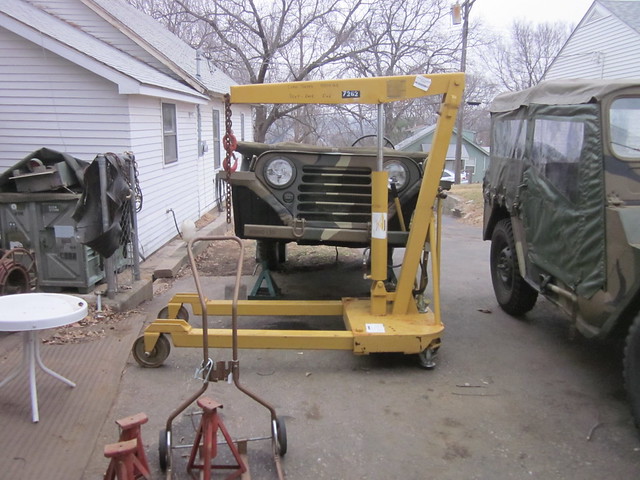
Poor 6022 was always stuck playing second fiddle.  Here it is after having it's front end and power pack stolen to stick in 6007 since it was judged at the time that we'd get 6007 on the road sooner.    In the picture, Fitz is installing the front end from 6007 which, in an odd twist, has a bad bearing just like the original front end that was in 6022 all those months ago...


Image
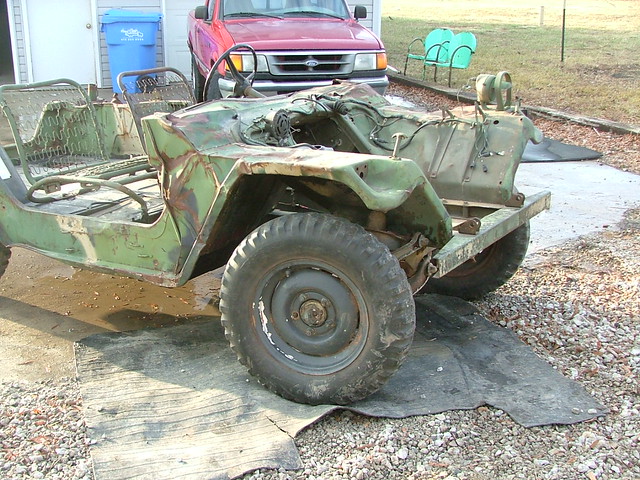
6022 as it sat in April 2013.

_______________________________________________________________________________________________________________________________________________

Image
December of 2013 we decided to switch the front ends back around between 6022 and 6007. Here David is retrieving 6022s front suspension off of 6007.

Image
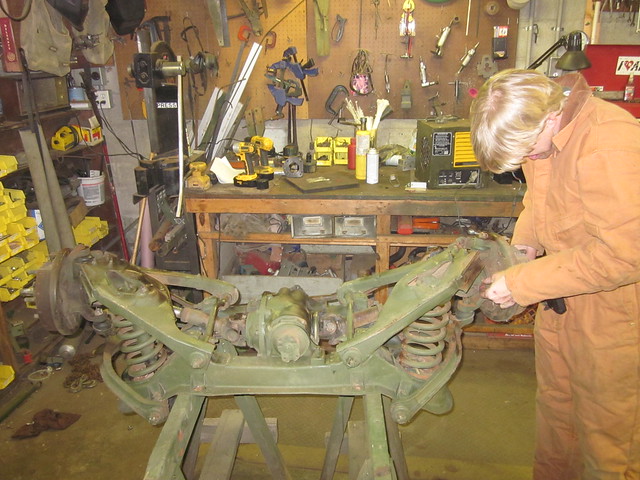
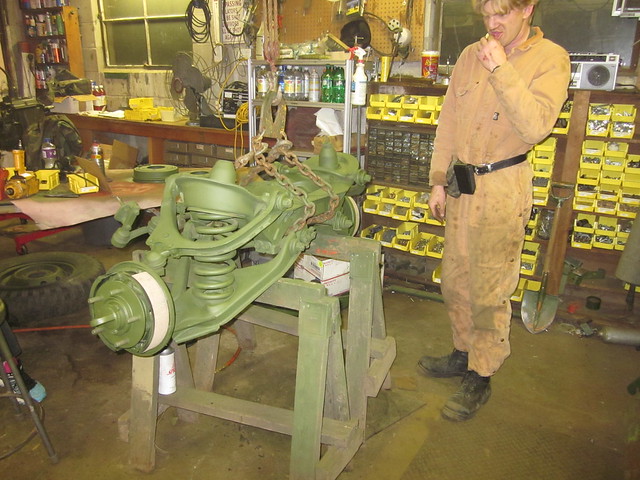
Front suspension up on saw horses in the (heated) shop for refurb.  

Image
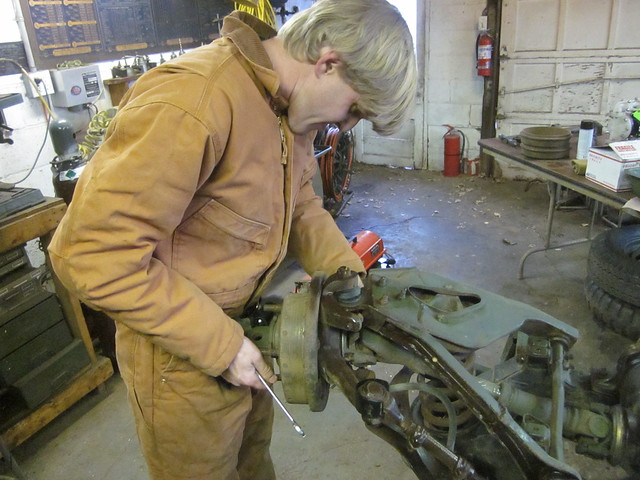
Getting the axles pulled out.  

Image
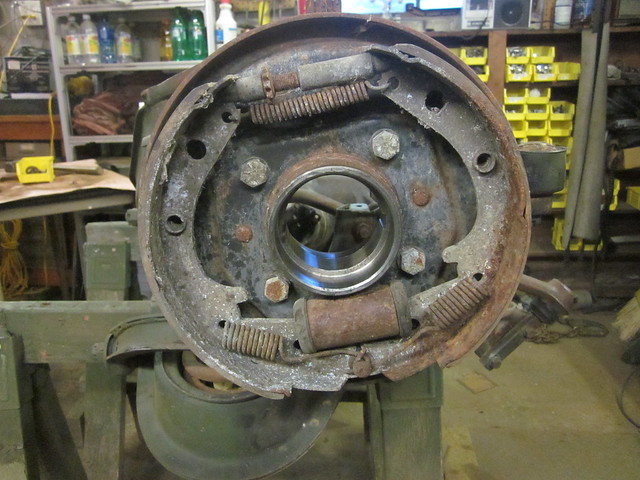
Hub cleaned out with new races pressed in.  

Image
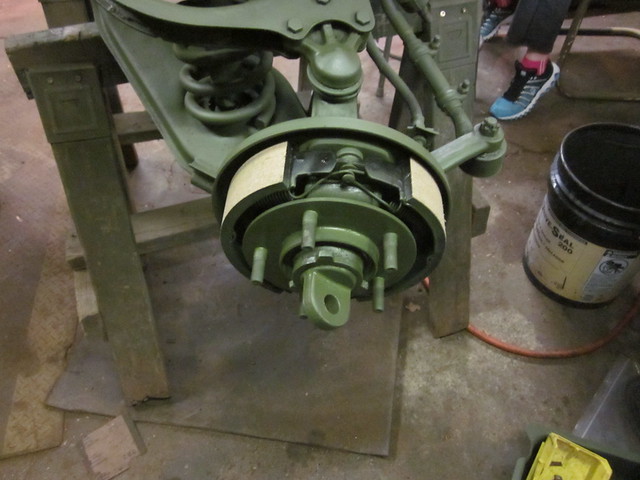
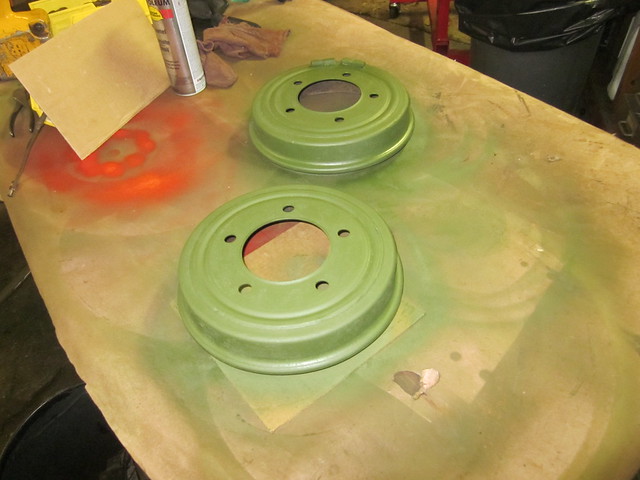
Front brakes all done.  

Image
Flipped over, top side cleaned up and painted.   Tidied up a few loose ends while we were here as well.  

Image

Image

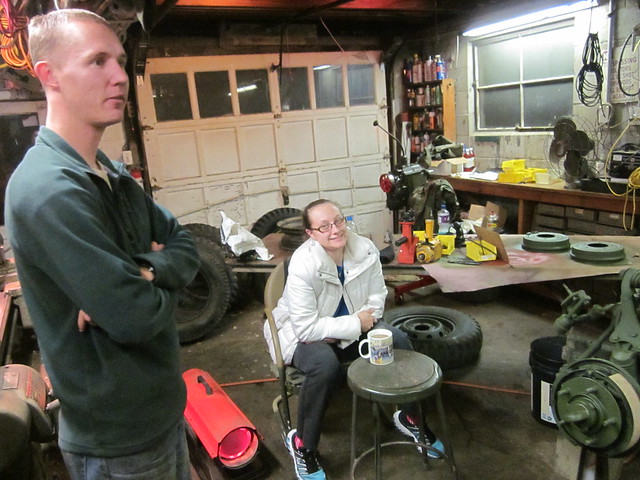
Quality control staff approve.  

_____________________________________________________________________________________________________________________________________

Aswayze
Sergeant First Class
Posts: 288
Joined: July 10th, 2013, 7:50 am
Location: Kansas City, Kansas
Contact:

Re: M151A2 6022 Project pictures.

Unread post by Aswayze » January 4th, 2015, 10:01 pm

Now caught back up to current times!

With the Bantam menace all tied up, we are primed for a new winter project out here.   With the fact that we already need to do some cylinder head work for 6008, we figured we would just kill two birds with one stone and haul 6022's engine out of retirement and get it sorted and ready to go.  

David ran out to Dave's house today bringing along a new seat bottom for still another Dave's M880 while relying on the ever helpful duo of Dave and Dave to help load 6022s engine up into the van.

Once free of excess Daves, David showed up over here at the house and we heaved the engine down onto the cart, hauled it over to the trusty block and tackle then lifted it up onto the engine stand.  

6022s engine is VERY dirty...  We spent much of the afternoon/evening cleaning, scrubbing, solvent washing, wire brushing, chipping, scraping and picking at it to get it nice enough to touch without giving ourselves rapid onset black plague from the filth.  

Pics:  

Image
Step one, scrape/shovel off the major chunks of red Oklahoma mud mixed with grease/oil.

Image
Step 2, pull off the parts we can easily clean at Davids work with Mr robotic sandblaster.   Take advantage of the teaching moment gained by breaking off one of the water pump bolts.

Image
Looks like that freeze plug was leaking a bit, chip chip chip...  Ahhh...  I see why.   We had already planned to yank all the freeze plugs and scour the block out anyhow.  

Image
Out into the nice 10 degree weather to solvent wash with the Binks.  You'll note a distinct lack of Allan and Curfman in this process...  We were both in the house boiling water for David...  

Image
Back in from the Binksing.  We ran two gallons of hot solvent mix through the Binks and got good results but it's far from done.    Obviously, the hot solvent stopped being hot fairly quickly...  

Image

Image
We gave it a little more scrubbing down with some window cleaner and a some scrub brushes backed up with the needle scaler on the really caked up bits and got it still further down the road to being clean.  

Image
Knocked out all the freeze plugs.  Block is pretty nasty so it will need a pretty good acid bath once we get things further apart.  

The plan is to resume the assault on this guy next weekend once David's back in town.   Hopefully another 2-3 gallons of hot water through the Binks will get it cleaned up enough that we can start breaking it down and seeing how things look inside.    Hopefully we can get away with cleaning everything up, replacing gaskets, replacing the rear main (evidence that it was leaking before) reseating the valves replacing the dented oil pan then sticking it all back together.  

As long as it all works out, the plan is to get the entire power pack stuck back together then go pull 6022 out of the barn and get the body straight enough to install the column and power pack in it then have it ready to run for East Wind 8.   Once Guy gets cowl panels ready to go, David will mass order all the panels he needs and we can do 6022 up proper this summer.  

For now at least, the ball is again rolling.  


User avatar
rickf
General
General
Posts: 19762
Joined: November 26th, 2007, 1:28 pm
Location: Pemberton, NJ.

Re: M151A2 6022 Project pictures.

Unread post by rickf » January 5th, 2015, 7:57 am

That's it, Give the one guy in your group with long hair the dirtiest jobs. I see how you guys are. :lol:
1964 M151A1
1984 M1008
1967 M416
04/1952 M100
12/1952 M100- Departed
AN/TSQ-114A Trailblazer- Gone

Aswayze
Sergeant First Class
Posts: 288
Joined: July 10th, 2013, 7:50 am
Location: Kansas City, Kansas
Contact:

Re: M151A2 6022 Project pictures.

Unread post by Aswayze » January 5th, 2015, 10:35 am

Ah don't worry, when it's this cold the little dirty bits freeze solid before they get to David's hair.

Yucky job but in my opinion, the only way to do this sort of thing. Working on dirty stuff is demoralising.

User avatar
rickf
General
General
Posts: 19762
Joined: November 26th, 2007, 1:28 pm
Location: Pemberton, NJ.

Re: M151A2 6022 Project pictures.

Unread post by rickf » January 5th, 2015, 10:54 am

Wasn't really thinking of it that way. You guys are all too young to remember. Discrimination against the long hairs. :roll: :lol: :lol: :lol:
It's funny, I have had long hair for the most part since the 60's and I went from being a Hippy to a rebel to a outcast to a bum to trendy person to a now dignified (YEA RIGHT!) older person. Amazing how things change over the years. :roll:
1964 M151A1
1984 M1008
1967 M416
04/1952 M100
12/1952 M100- Departed
AN/TSQ-114A Trailblazer- Gone

Aswayze
Sergeant First Class
Posts: 288
Joined: July 10th, 2013, 7:50 am
Location: Kansas City, Kansas
Contact:

Re: M151A2 6022 Project pictures.

Unread post by Aswayze » January 5th, 2015, 1:33 pm

Ah that...

We'll have to keep that in mind in the future. I forgot to discriminate against David for that before.

Aswayze
Sergeant First Class
Posts: 288
Joined: July 10th, 2013, 7:50 am
Location: Kansas City, Kansas
Contact:

Re: M151A2 6022 Project pictures.

Unread post by Aswayze » January 10th, 2015, 10:45 pm

We got the engine the rest of the way cleaned up today and hit it with an initial coat of engine paint.  Nice to have that thing not be a complete ball of slime...  

Before we took it the rest of the way down to seat the redo the valves and look everything else over we decided to go ahead and fill the water jacket up with a phosphoric acid mix to chew out the considerable amount of rust brewing in there and give this thing a fighting chance at a normal operating temp.

Image
The plan was simple, with the freeze plugs out, we would install rubber expansion plugs in the open spots on the back of the engine, put a 3 inch expansion plug up where the water pump goes, install the water neck without the thermostat then roll the engine over on it's side and fill it with our witches brew of rust eating goody goodness.  

Image
System mostly worked apart from forgetting that the water pump bolts are through drilled so we had to scamper a bit to get some bolts in there to arrest the leakage.  

Tomorrow morning, we rinse everything clean and start pulling things apart.  

Aswayze
Sergeant First Class
Posts: 288
Joined: July 10th, 2013, 7:50 am
Location: Kansas City, Kansas
Contact:

Re: M151A2 6022 Project pictures.

Unread post by Aswayze » January 13th, 2015, 5:36 pm

We spent last weekend up to our elbows in black gunk pulling the engine apart and assessing it's condition. Pretty grim inside. Nothing that looks to have spun or anything but a lot more tracks and wear on the bearing surfaces that I like to see and at least a V8s worth of sludge built up in the pan and under the valve cover. Additionally, this thing had unbelievable end play on the crank which I find completely unacceptable.

Yuck...

We could just clean everything up, put it together and see how she rolls but I am thinking that is likely not the best plan. Near term, I want to yank out the pistons and measure them, I suspect that they are .30 over pistons. If so, I am thinking that taking the original block from 6001 out to the machine shop and getting the original bore punched to .30 over then installing the pistons from 6022's engine into 6001's old block keeping the rest of the bits from 6001 in there. 6001 had very good oil pressure and it ran good, it just had low compression so that should get us on the road with a useful engine without breaking the bank.

Pics:

Image
Curfman scooping goo out of the oil pan.

Image
The oil pan off of 6001's original engine for comparison

Image
Under the valve cover. Yuck... time for a soak in some diesel fuel for that one.

Image
David scraping off the old oil pan gasket.

https://www.flickr.com/photos/55855884@N00/16073605039/
Short video showing the end play on the crankshaft of 6022s motor

Image
Pulling the rockers off. More stuff for the diesel pan.

Image
Looking at the cylinders. Pretty ratty in there too. If the crank was good, I would just ball hone it, install some rings and give it a try but with the crank also being poo I think we are better off shifting over to the other block.

Flyingvan911
Sergeant
Sergeant
Posts: 97
Joined: November 4th, 2013, 10:01 pm
Location: Kansas City, MO

Re: M151A2 6022 Project pictures.

Unread post by Flyingvan911 » January 14th, 2015, 12:48 am

I tend to be cheap on haircuts and such. I'll cut it when it gets long enough to start looking shabby. It saves money for the important stuff. Getting dirty is part of my job. Railroad cars have many varieties of dirt.

I'm sure glad we're inspecting everything so closely. I'd rather do a bunch of work once than have to pull everything back apart later. It's time consuming and expensive enough without missing things that will cause big trouble later.

Post Reply